Manage endpoints
4 minute read
An API endpoint provides a way for a client to access your application, such as GET <SERVER_ADDRESS>/api/users/query, and access the application’s models and custom code blocks to return data to the client application. To create API endpoints, see the API reference or follow the Generate endpoints instructions. For reference information on flow orchestration and flow-node configuration, refer to Flow-nodes.
Import endpoints
Note
A Swagger API endpoint definition file can only be imported once. If you attempt to import a Swagger file for the same API endpoint definition, you will receive a server error message due to conflicting paths.When designing API to import, you should refer to the apiPrefix section in Project configuration for important API design considerations.
To import API endpoints using the API Builder user interface:
- Select the API Doc & Test tab.
- Click the + API button on the right side. The Import API Definition page is displayed.
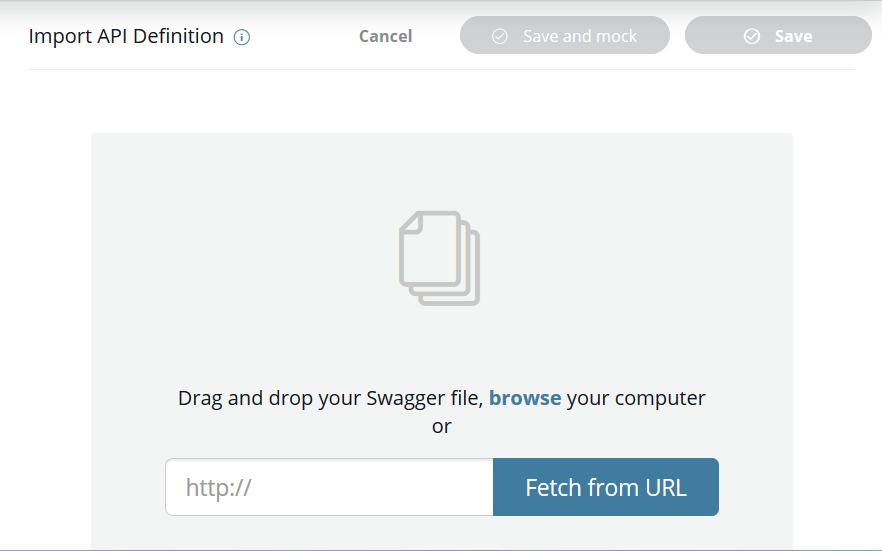
- Select a file from your local file system or enter a URL. A file can be selected by browsing or dragging and dropping it. The selected file must be a Swagger formatted JSON or YAML file. Once a file is selected, or a URL entered, the API summary review page is displayed.
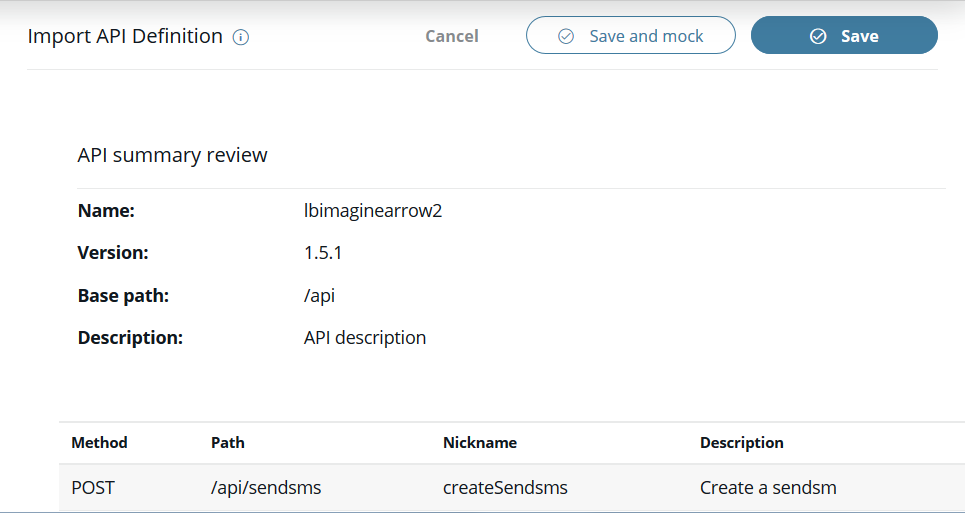
- Click the Save button on the right to import and save the selected API endpoint. Click the Save and mock button to save and mock the selected API endpoint. You can mock imported APIs to get early feedback from your API consumers and reduce your overall time-to-market. Click the Cancel button to cancel the import of the selected API endpoint. When the Save button or the Save and mock button is clicked, the server will restart. Once the server restart is completed, the imported API endpoints will be displayed on the APIs List page. The imported API endpoints will be disabled, and each will have a Create Flow and Delete icons. To create the API endpoint flows, refer to the Create flows instructions in Manage Flows.
Generate endpoints
API Builder may auto-generate APIs for certain models. These APIs are hard-coded and cannot be used with flows or the orchestration flow editor.
To generate endpoints that have flows that can be edited within the flow editor using the API Builder user interface:
- Select the Models tab.
- Click the Gear icon.
- Select Generate endpoints. The previously generated Endpoints will be overwritten caution window is displayed.
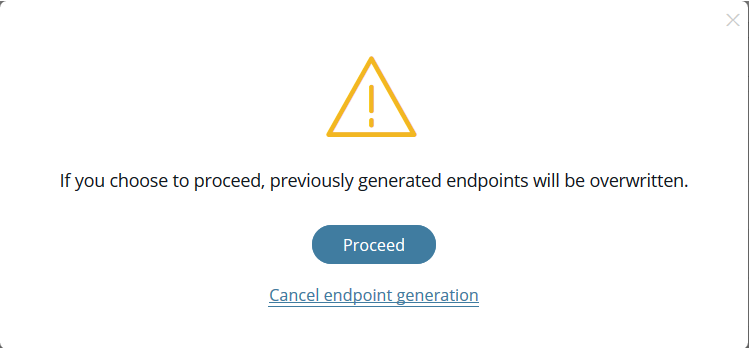
- Select Proceed to generate the model endpoint flows. Select Cancel endpoint generation to return to the Models tab.
- If Proceed is selected, the new endpoints will be generated, and the server will be restarted. Once the endpoints are generated, the Endpoint has been generated success window is displayed.
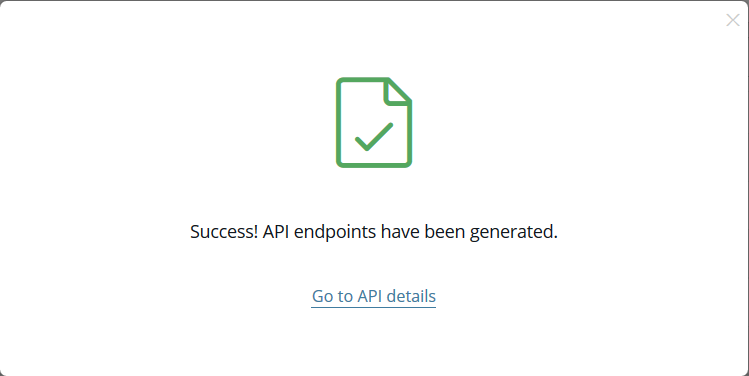
- To view and manage the Endpoints, select Go to API details. The method, path, nickname, description, and status (enabled, disabled, or error) of each generated endpoint is provided on the APIs List page. Additionally, Flow and Delete icons are provided for each Endpoint.
Export endpoints
To export an API endpoint as a Swagger file using the API Builder user interface:
- Select the API Doc & Test tab.
- Select the API endpoint to export from the API Endpoints list. Selecting the API endpoint to export will open the APIs List page.
- Click the Download Swagger button to download the selected API endpoint as a Swagger file in the original format that it was imported (for example, JSON or YAML).
- Select the file download location on your file system.
- Confirm the file download.
Delete endpoints
To delete endpoints using the API Builder user interface:
- Select the API Doc & Test tab.
- Select the API endpoint to manage from the API Endpoints list. Selecting the API endpoint to manage will open the APIs List page.
- Select the Delete icon for the endpoint to delete. The Endpoint delete caution window is displayed.
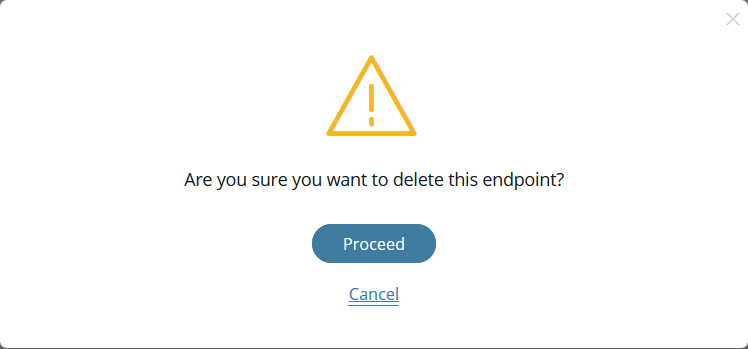
- Select Proceed to delete the selected endpoint. Select Cancel to return to the API List page. If Proceed is selected, the endpoint and any associated flow are deleted, and the server is restarted. Once the server restart is completed, the APIs List page is displayed.