Logger flow-node
3 minute read
Overview
The Logger plugin, @axway/api-builder-plugin-fn-logger, allows the user to log inside a Flow.
To install the Logger plugin, execute the following command:
npm install @axway/api-builder-plugin-fn-logger
For additional getting started information, refer to the Getting Started With API Builder.
Methods
The following sections provide details of the Logger flow-node methods.
Log
Writes a message to the log.
Parameters
| Parameter | Description | Type | Default | Configuration selection | Required |
|---|---|---|---|---|---|
| message | The log message. | String | - | Selector, String | Yes |
| level | The desired log level of the output logs. | String | info | Selector, String | No |
Parameter: message
The message parameter is the contents of what is going to be output at the logs.
Parameter: level
The level parameter refers to the level at which the output logs would be logged. You can pick from the following log levels: error, warn, info, debug and trace.
Note
The output logs would be only visible when the configured level is greater than or equal to the application’s config logLevel in order of most-to-least verbose: trace, debug, info, warn, error. For more information, see logLevel.Outputs
| Output | Type | Description | Save output value as: |
|---|---|---|---|
| Next | any | The flow-node does not output anything. | - |
| Error | Object | An unexpected error was encountered. | $.error |
How to use the Logger plugin
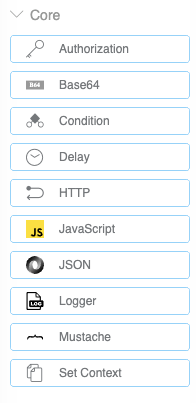
After the installation of the Logger plugin, the flow-node will be then available in the tools panel when creating or editing Flows. It can be found under the Core section of our flow-node list:
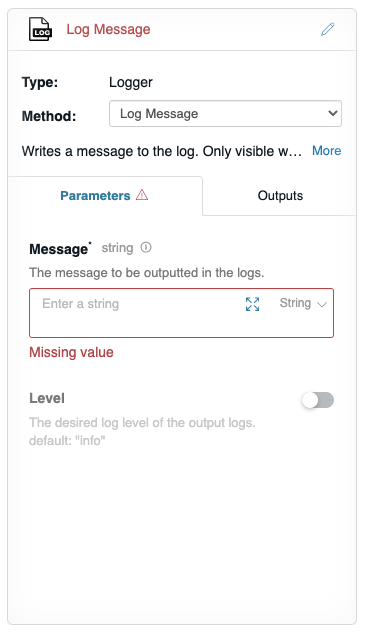
You can drag and drop the Logger flow-node into the Flow Graph to expand its details:
Example - Logging inside the Greet Flow
Here is how you could use the Logger flow-node in our Greet Flow example:
For the purpose of this example let’s say you would like to log the flow input parameter username at debug log level.
The first step is to drag and drop the Logger flow-node and wire it up in the flow graph as follows:
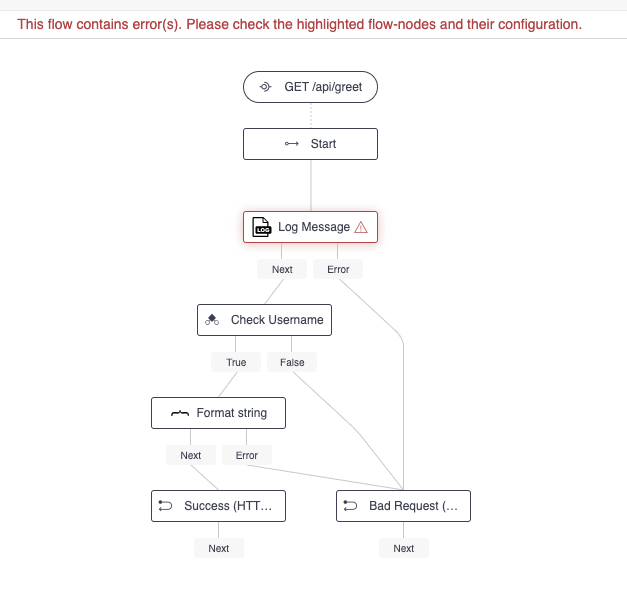
Note that the flow is in an error state. This is due to the fact that the flow-node requires a Message parameter and we have not provided one yet.
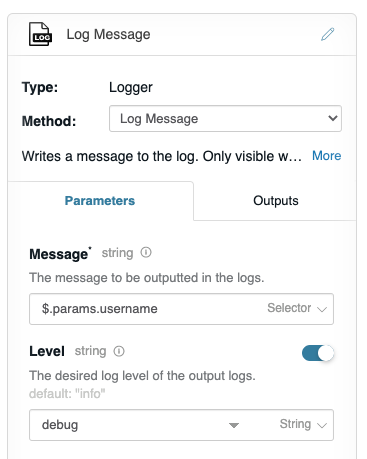
From the Greet Flow example, we know that the username could be accessed via the selector: $.params.username. So let’s configure our node by first switching the type to selector and setting that value:
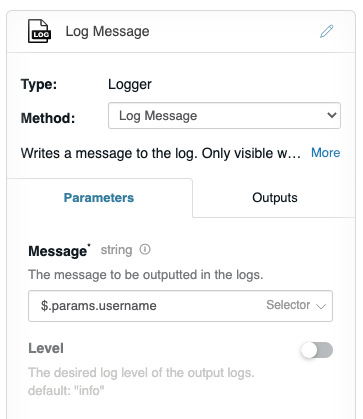
We now have the Message that we would like to output. Next, we need to set the log Level as we said we would like to log it at debug and by default the flow-node is logging at info.
To do this, toggle the Level parameter and select debug from the dropdown.
That is it! You could now try the flow through the debugger. Add an username and hit Execute Flow.

Which would return the already familiar salutation:

However, we are interested in the logs that are spit out in the terminal. This is what you could expect with the configuration we did:

If you would like to log at a different level the concept is the same - change the Level in the dropdown and try it out. In the same manner, you can log simple strings rather than using selectors.