Console
6 minute read
Introduction
The Admin Console allows you to create applications and allows you to manage the data in your applications.
By default, when you create a new project and run it locally, the Admin Console is enabled and available using the http://localhost:8080/console path. You should navigate to the Admin Console in your web browser to view what the API Builder UI has to offer.
Configuration
To configure access to the Admin Console, open the project’s ./conf/default.js file, and edit the admin key. The admin key is a dictionary of key-value pairs that control the access to the Admin Console, such as restricting which hosts can access the Admin Console.
Available configuration settings can be found in Project configuration.
API Builder tabs
API Builder provides a list of tabs on the left-hand side that helps you get started building your applications. Click the different sections of the UI to hop between functions and features of API Builder.
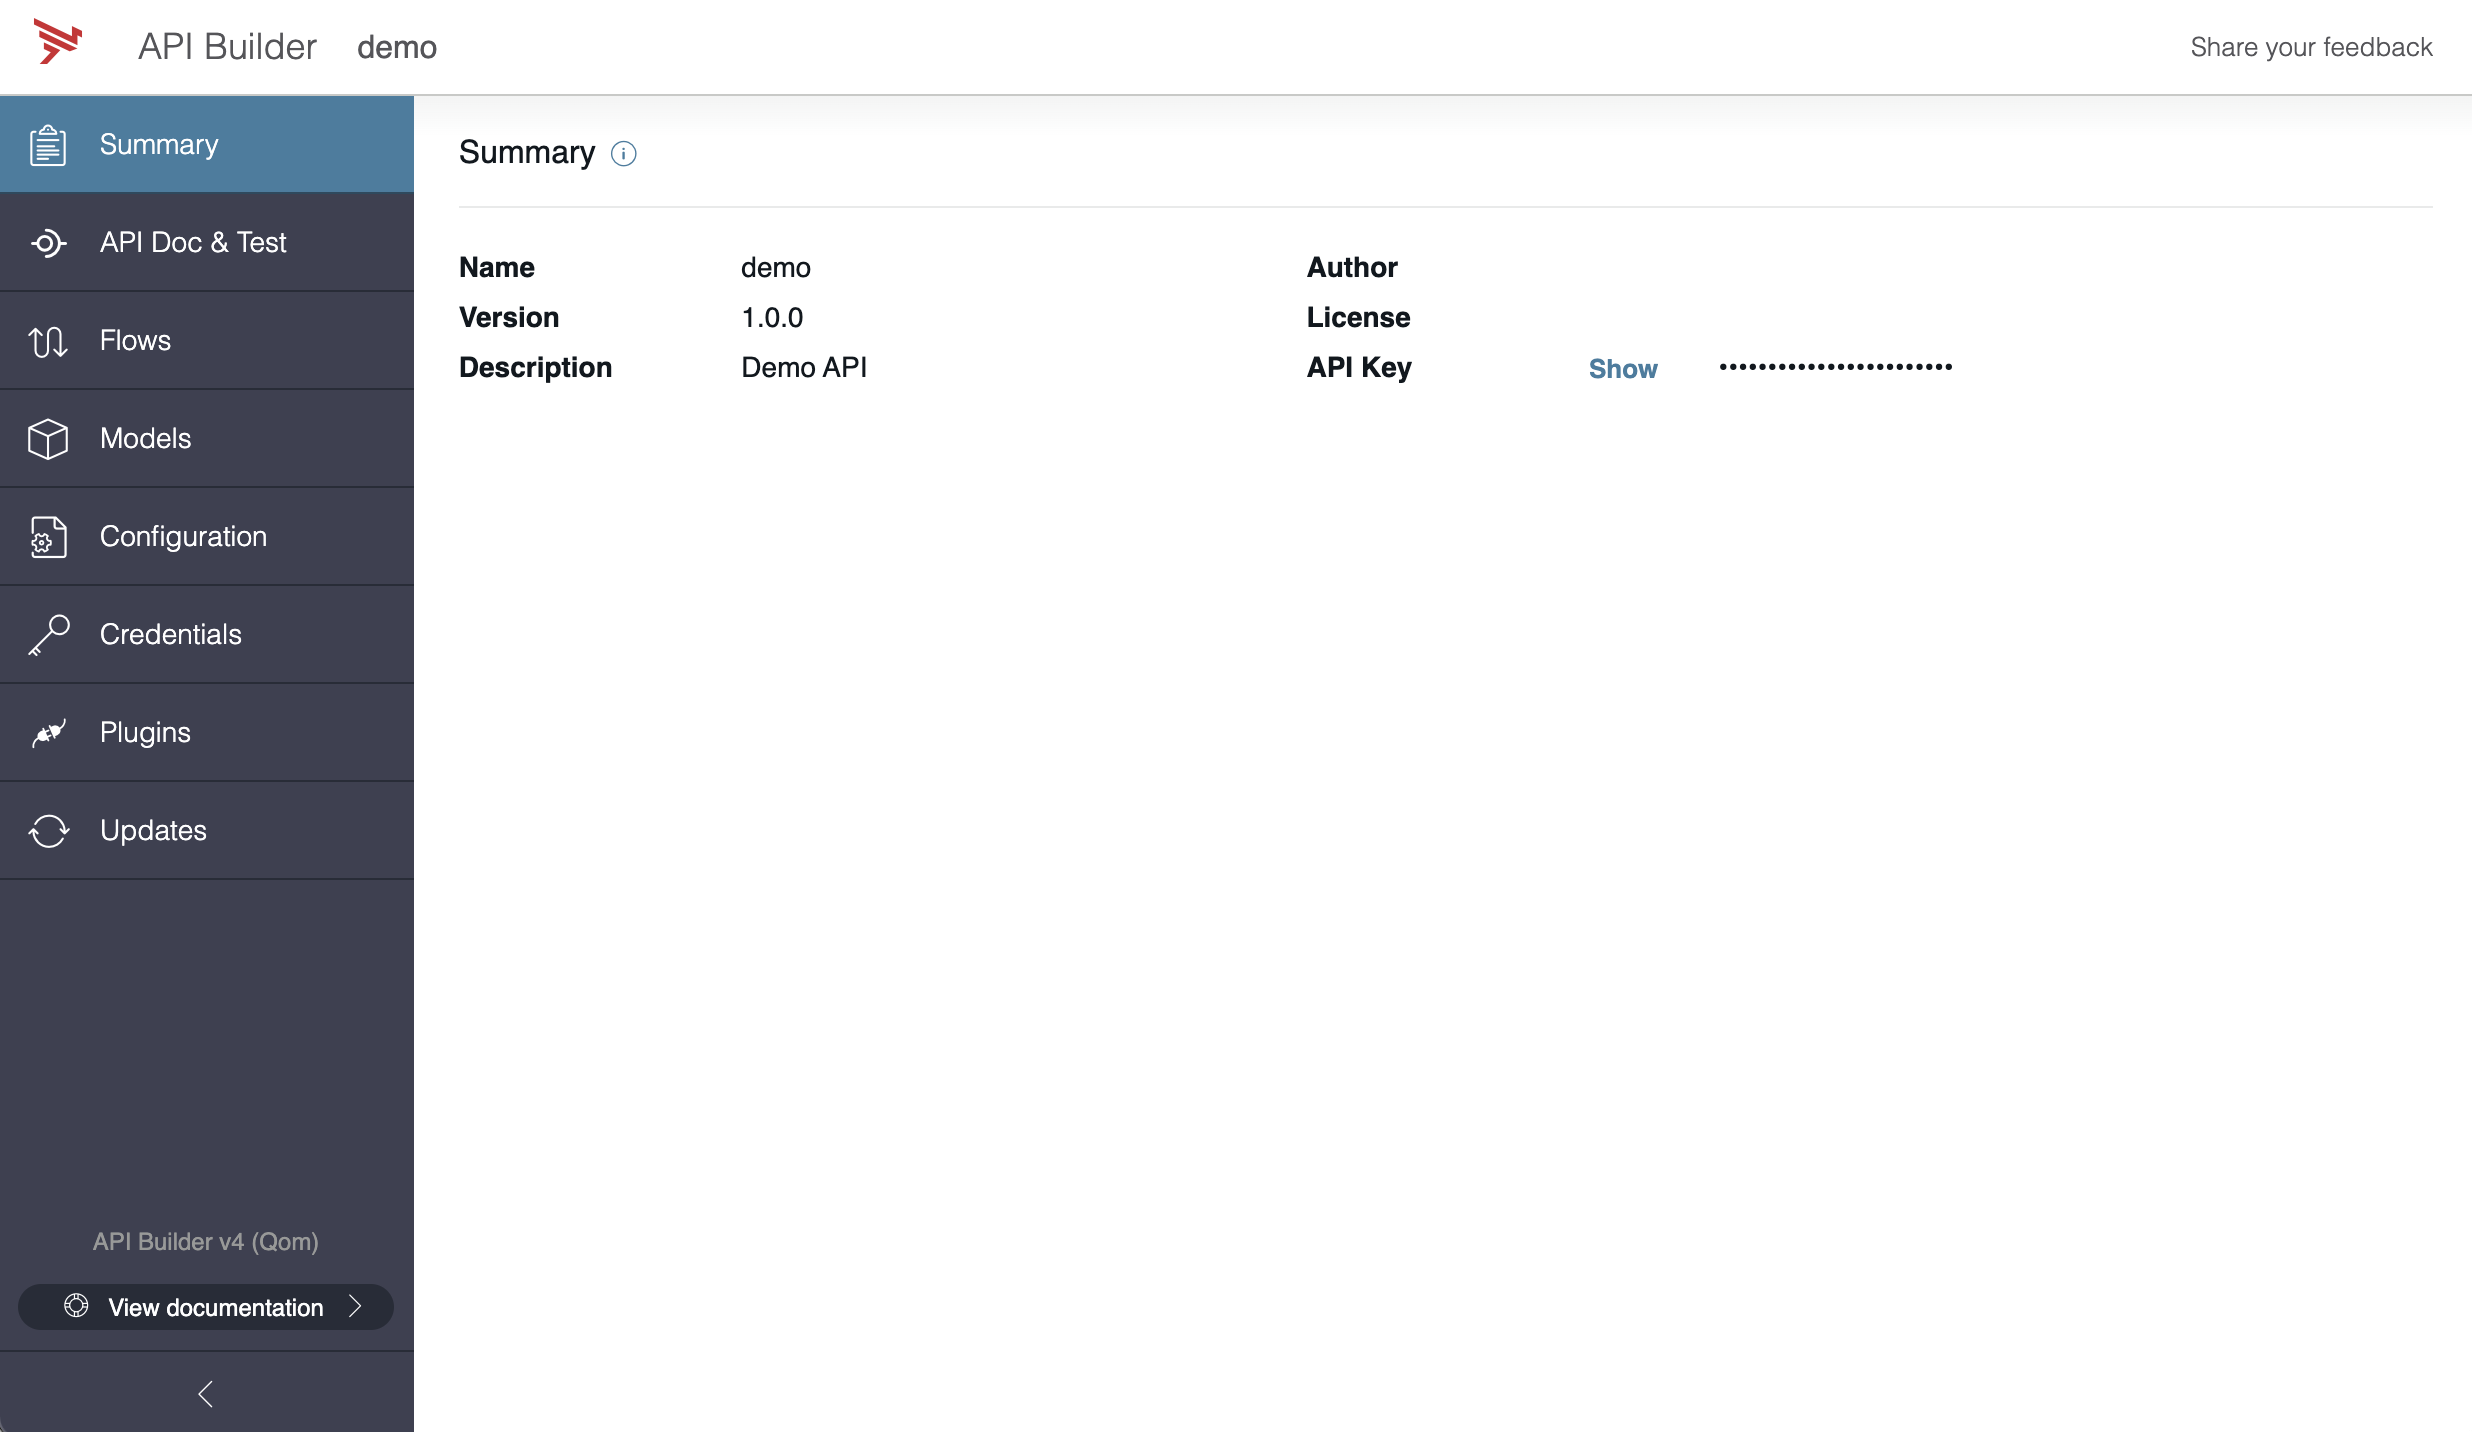
Summary tab
The Summary tab lists basic information about your application like app name, version, description, author, license, and API key. To quickly navigate to the Summary tab, click on the Axway icon or click on API Builder.
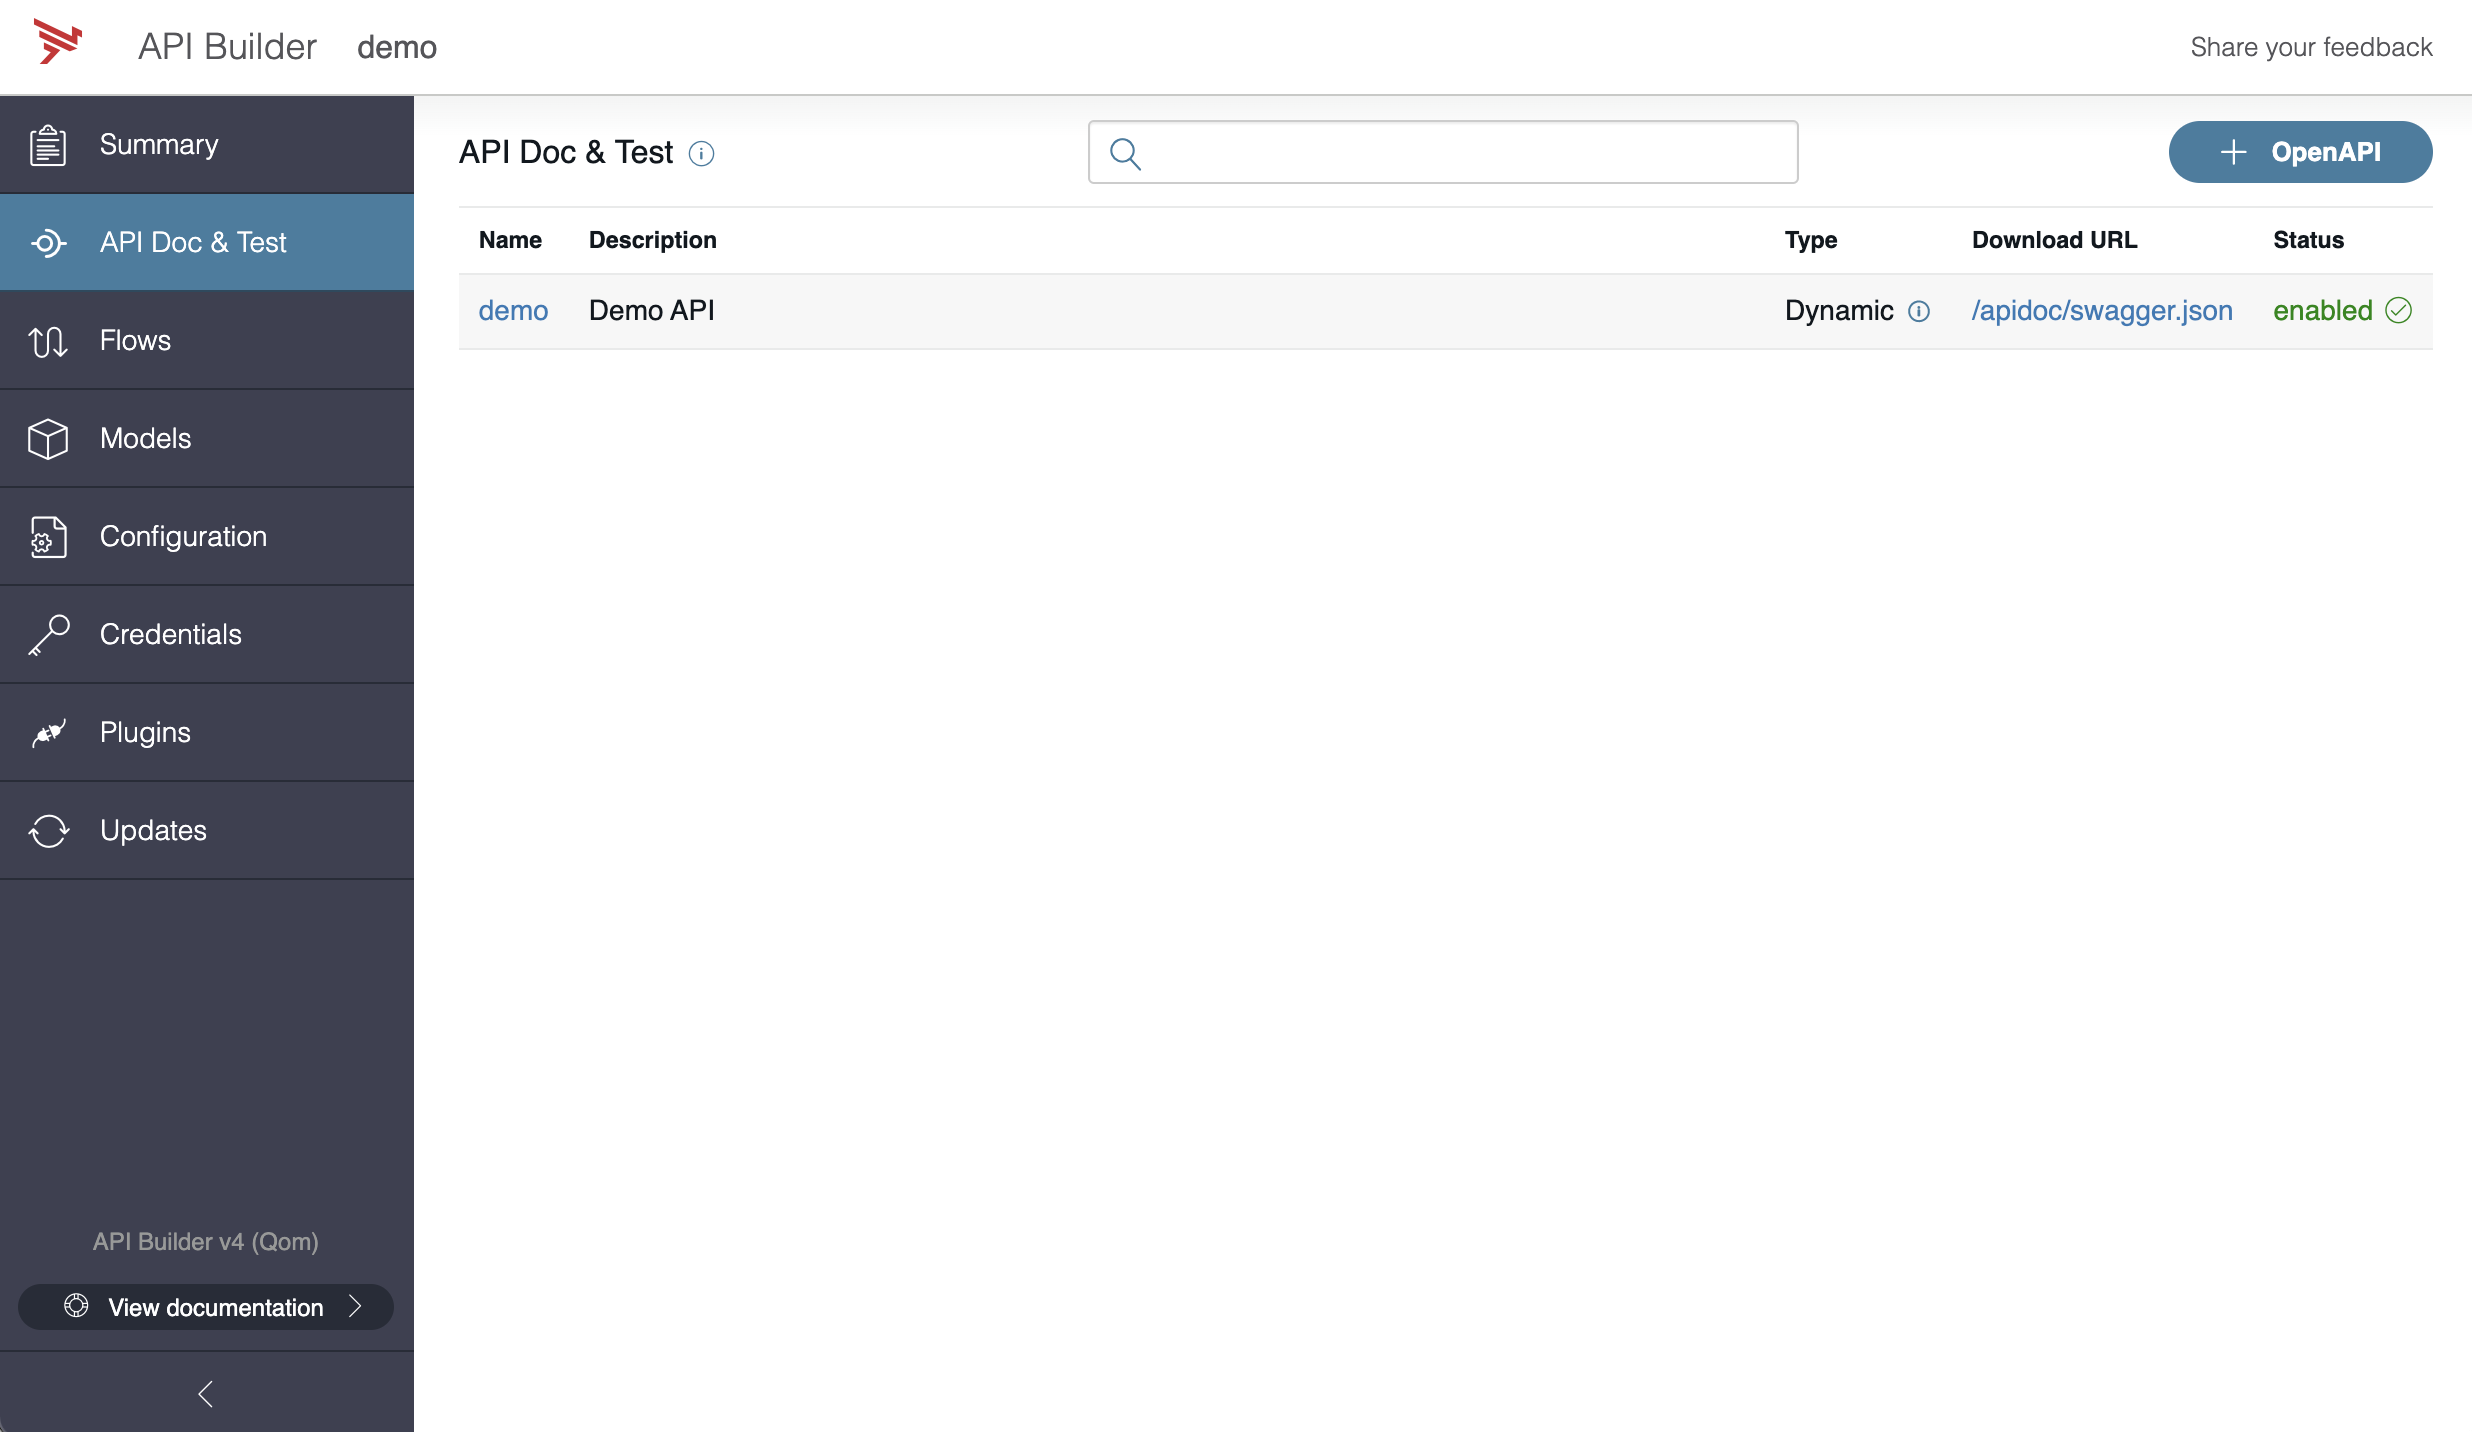
API Doc & Test tab
An API document or specification is a file which defines the methods which are available on a service, how they are accessed, and what responses are expected. The API Doc & Test tab lists all specifications that your service implements.
Documents may be dynamically generated from components of your service, such as the Dynamic OpenAPI 2.0 specification created by default on all services. External documents may also be imported and implemented using API-first methodologies.
Dynamic specifications take their name and description from your services package.json.
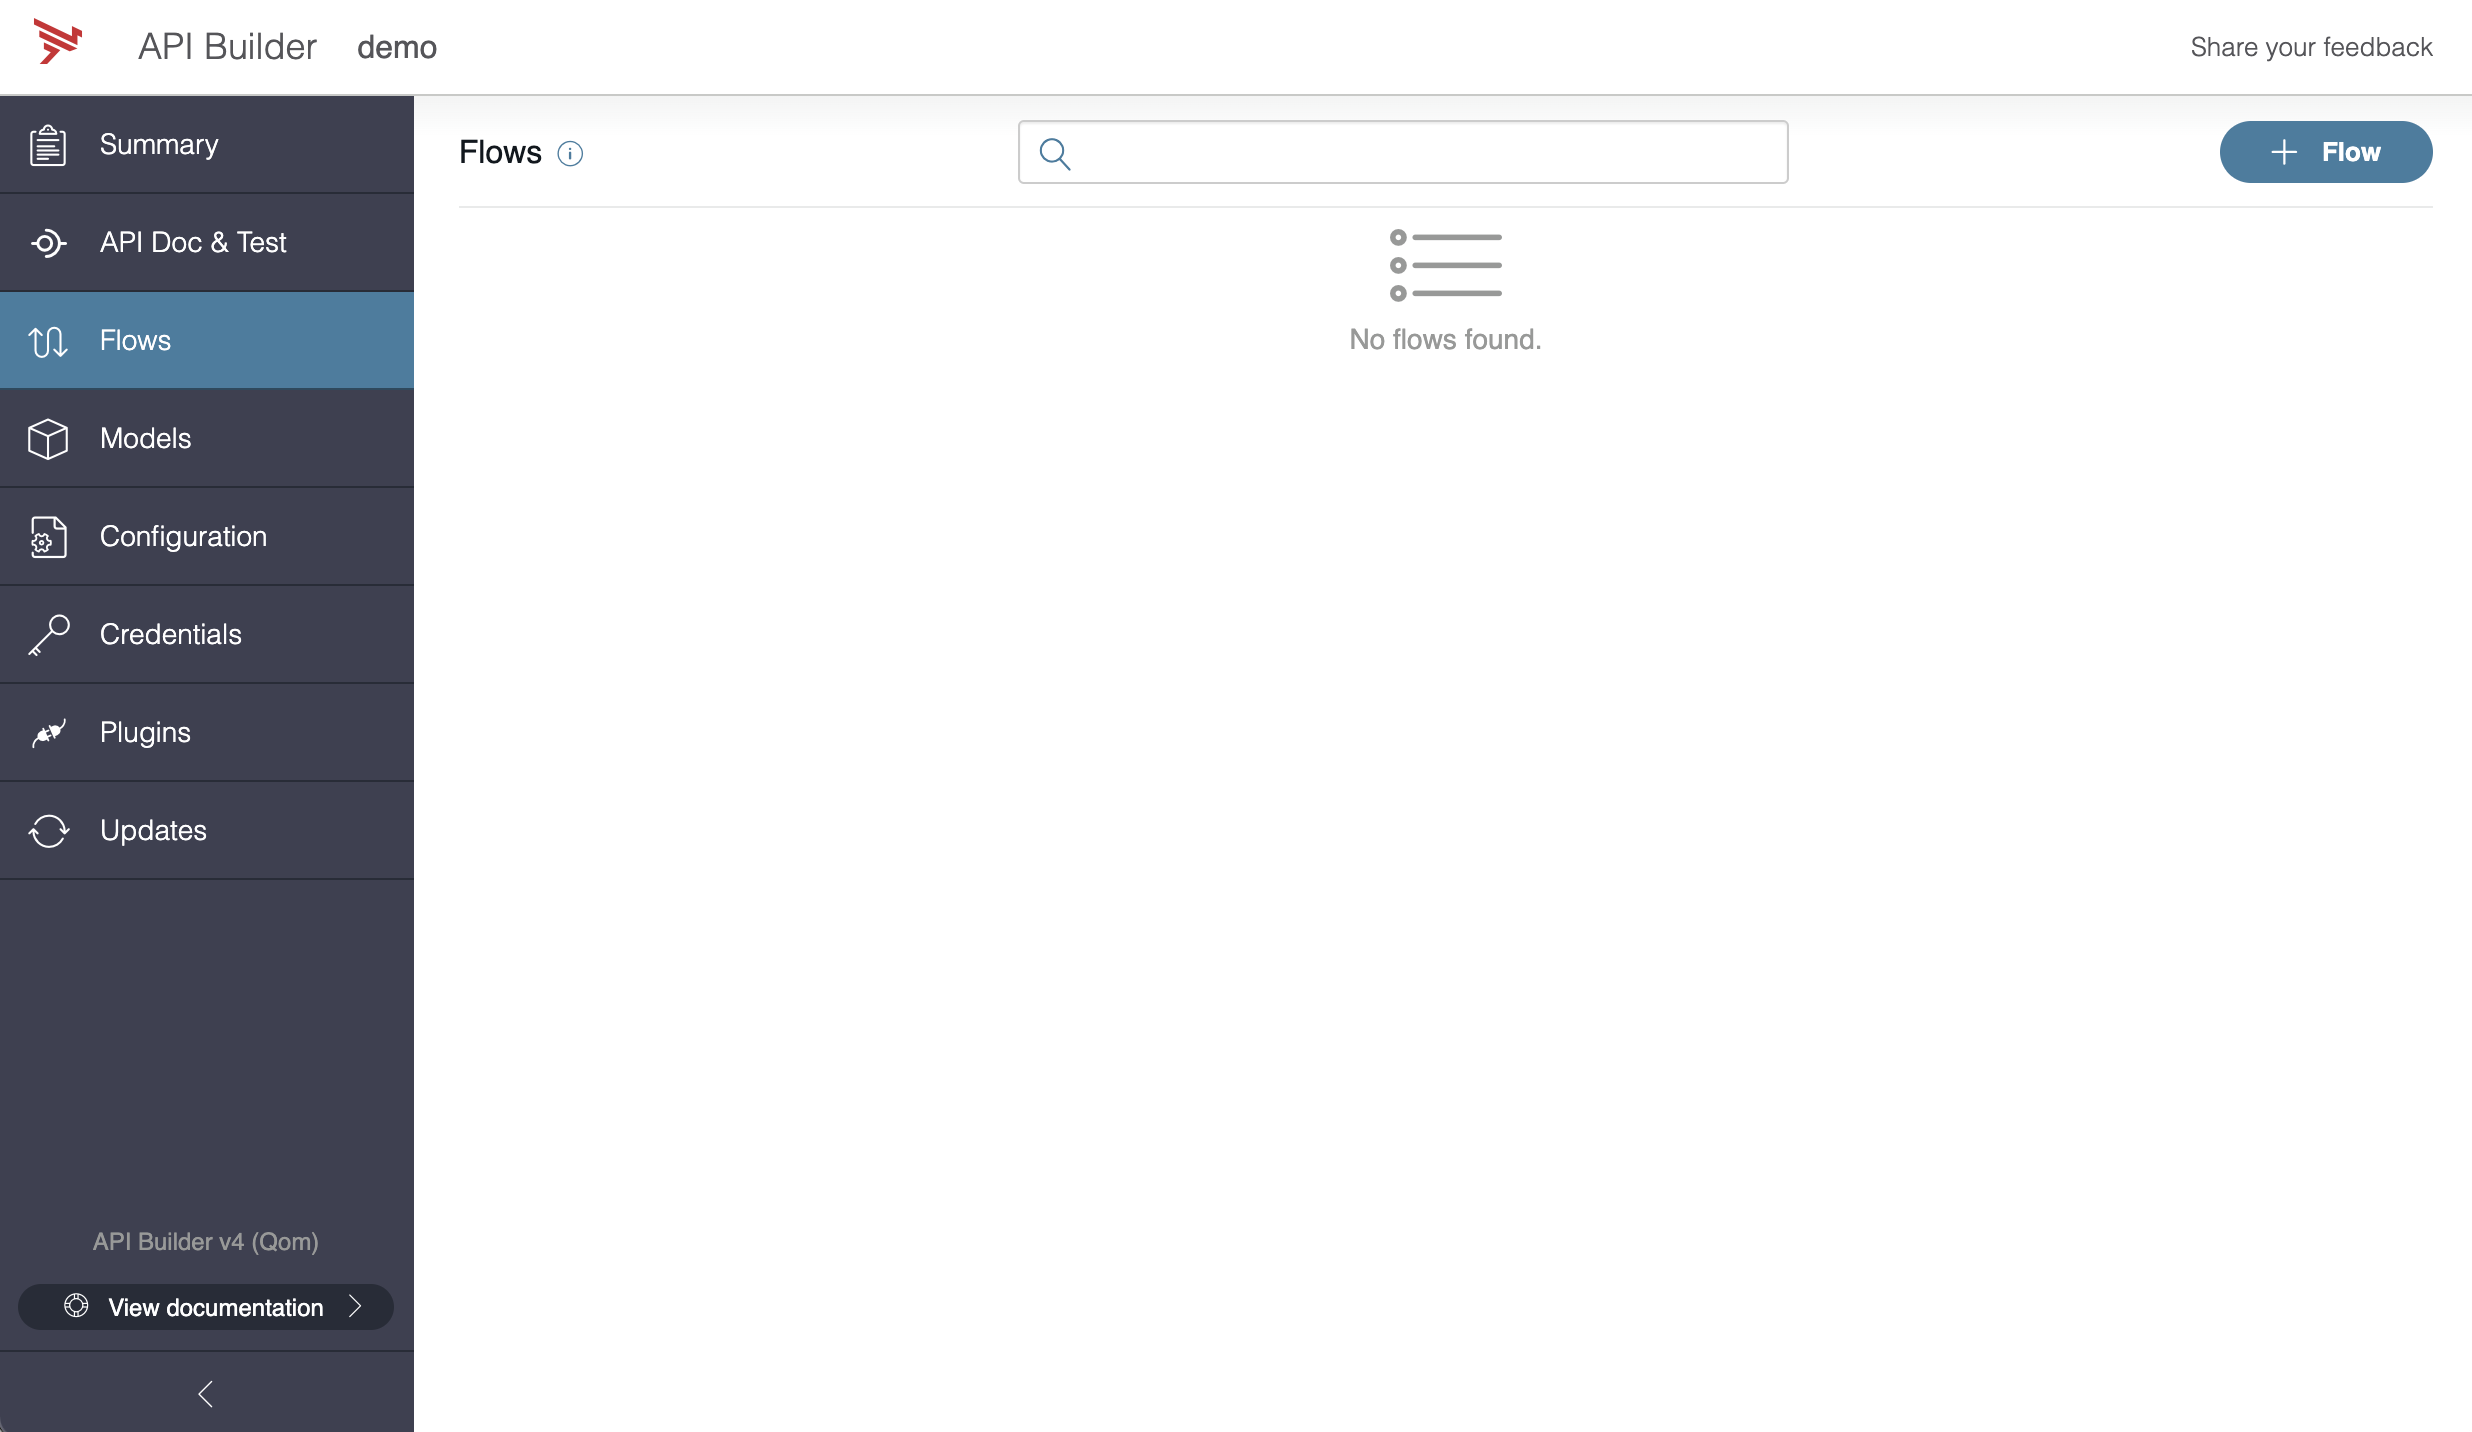
Flows tab
A flow is a low-code way of orchestrating services and utilities. Flows can be invoked by endpoints as well as by a number of other flow-triggers such as timers and event queues. The Flows tab lets you create and edit flows.
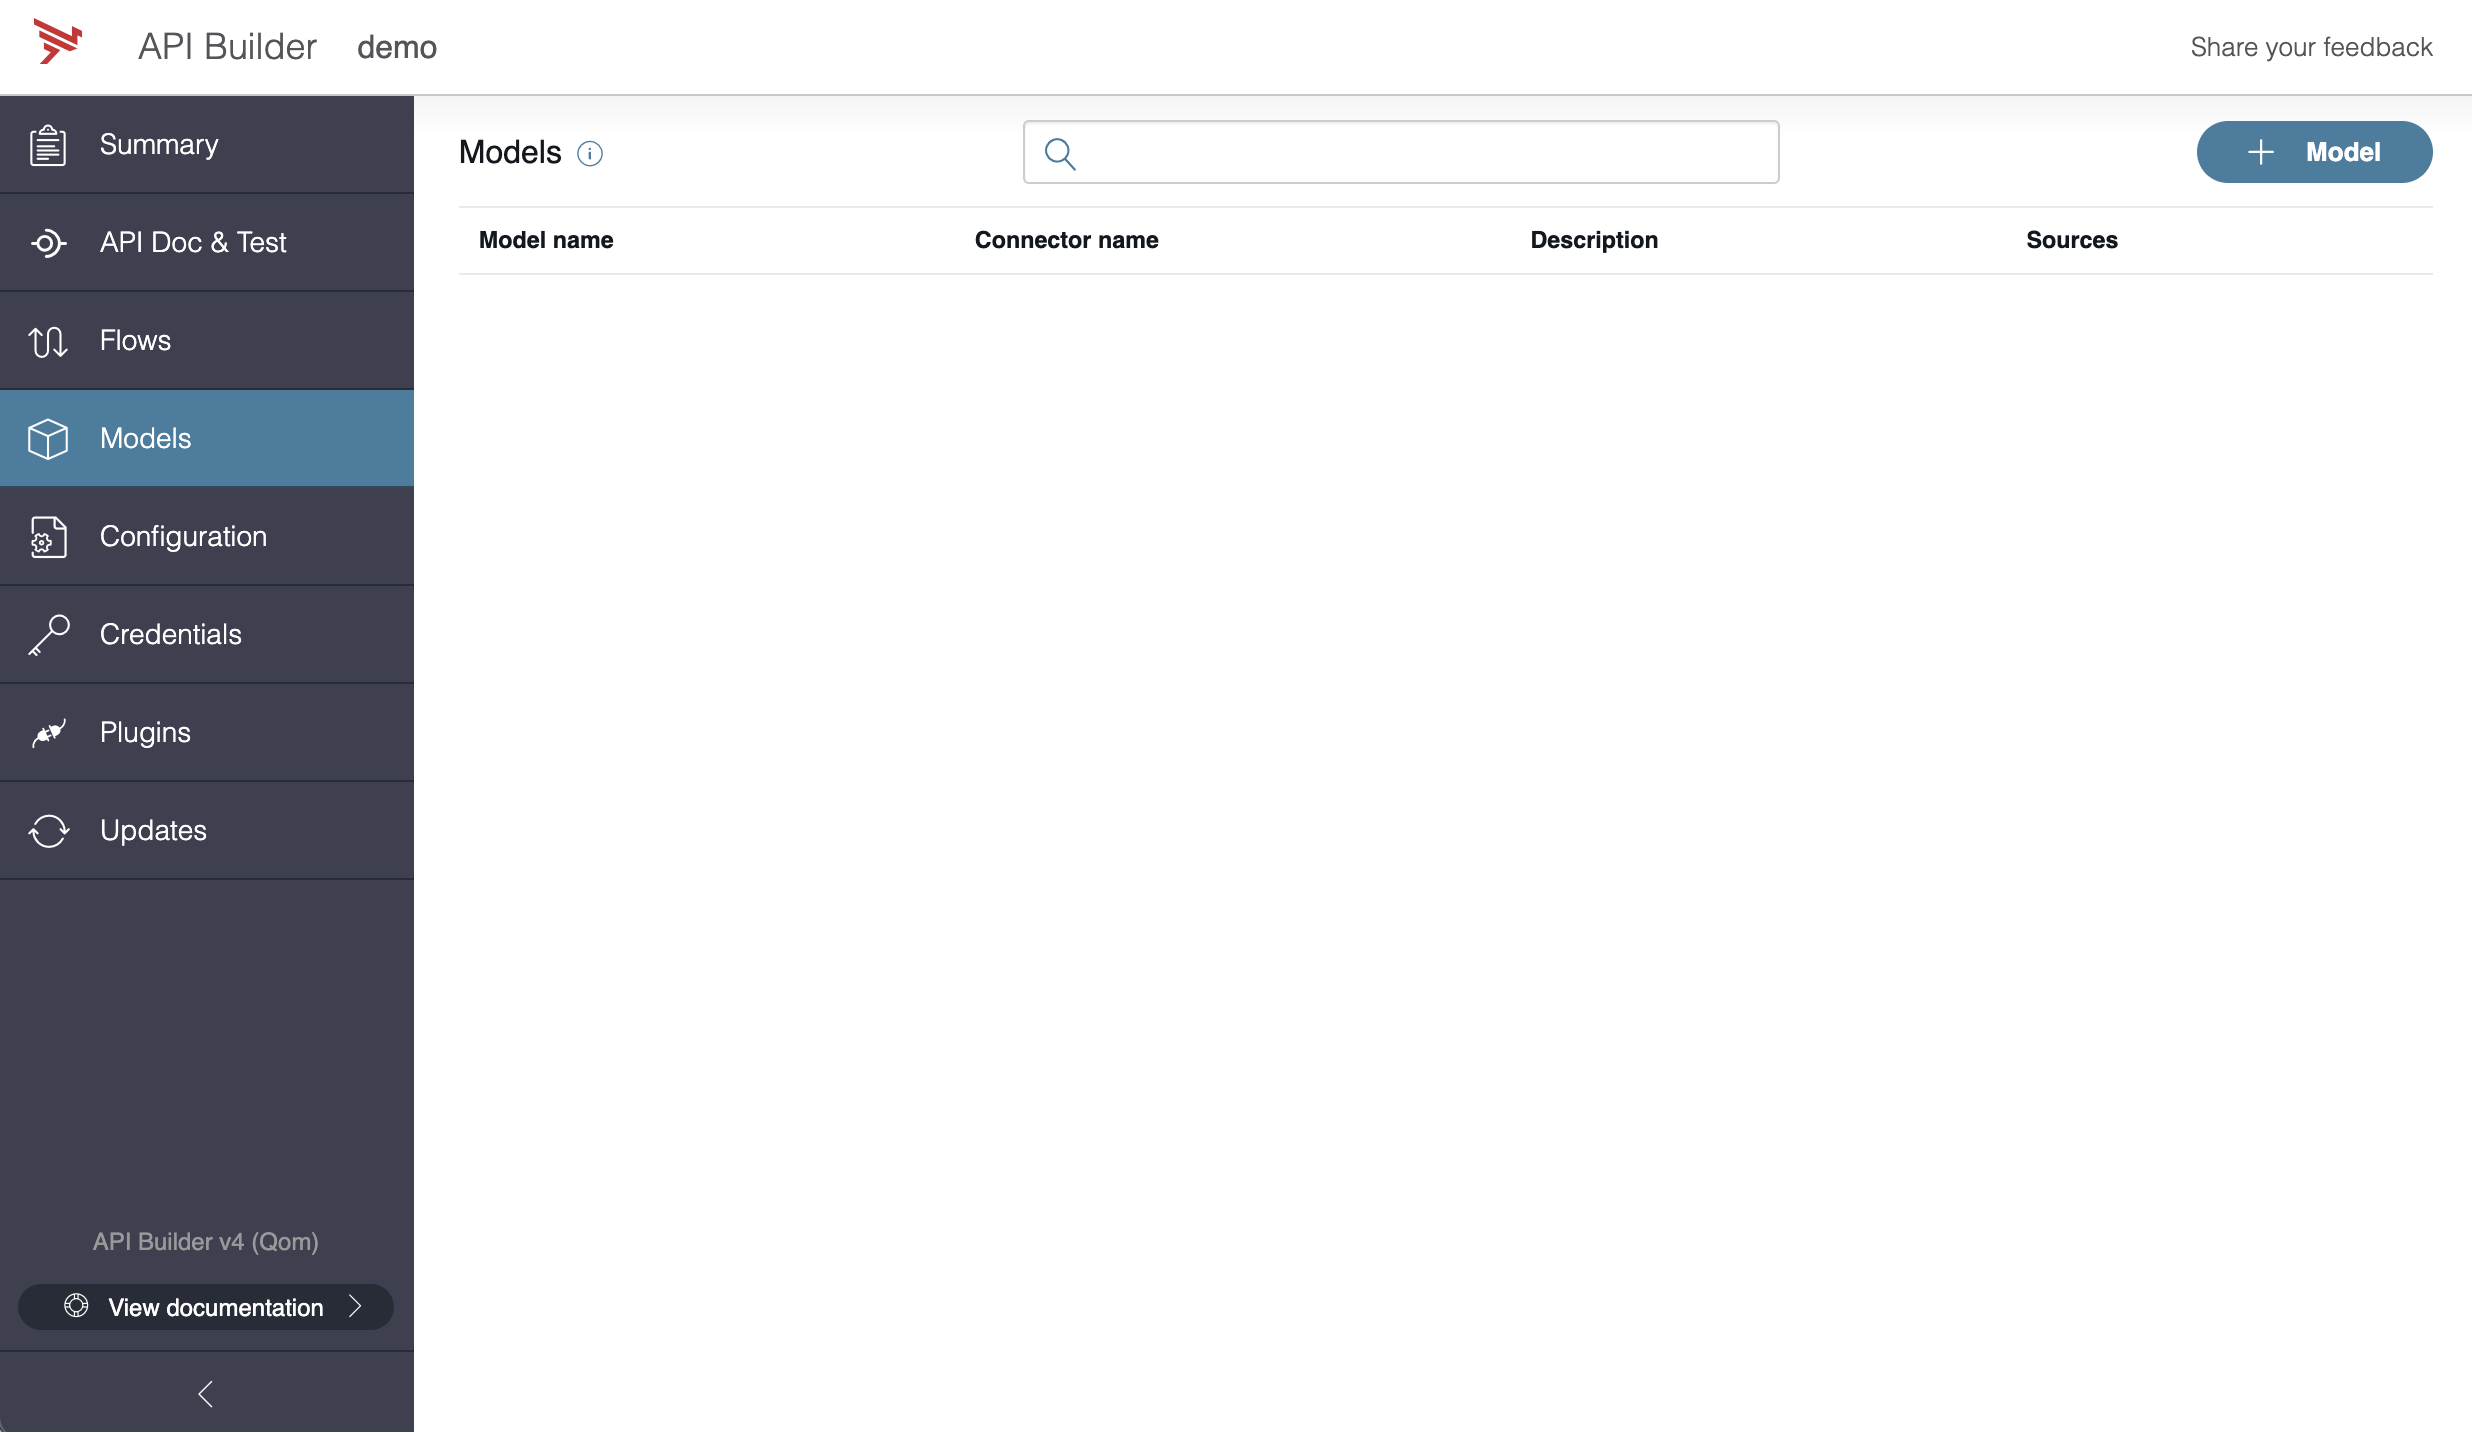
Models tab
A model is the data model, backed by a connector, and exposed as an API endpoint. A model can consist of other models or fields from other models. Once again, API Builder will generate API endpoints for your models by default. Changes to models require a restart.
The Models tab lets you create new models. The model build process involves the following steps:
- Name your new model, select a connector, and add a description.
- Add fields to your new model.
- Select the auto-generated API endpoint.
You may only build models when executing the project locally. The build console will not work in production even if you enable the Admin Console in production.
See the Create a new model section of Getting Started With API Builder for instructions on how to create a new model. For additional information on creating and editing models, refer to Models.
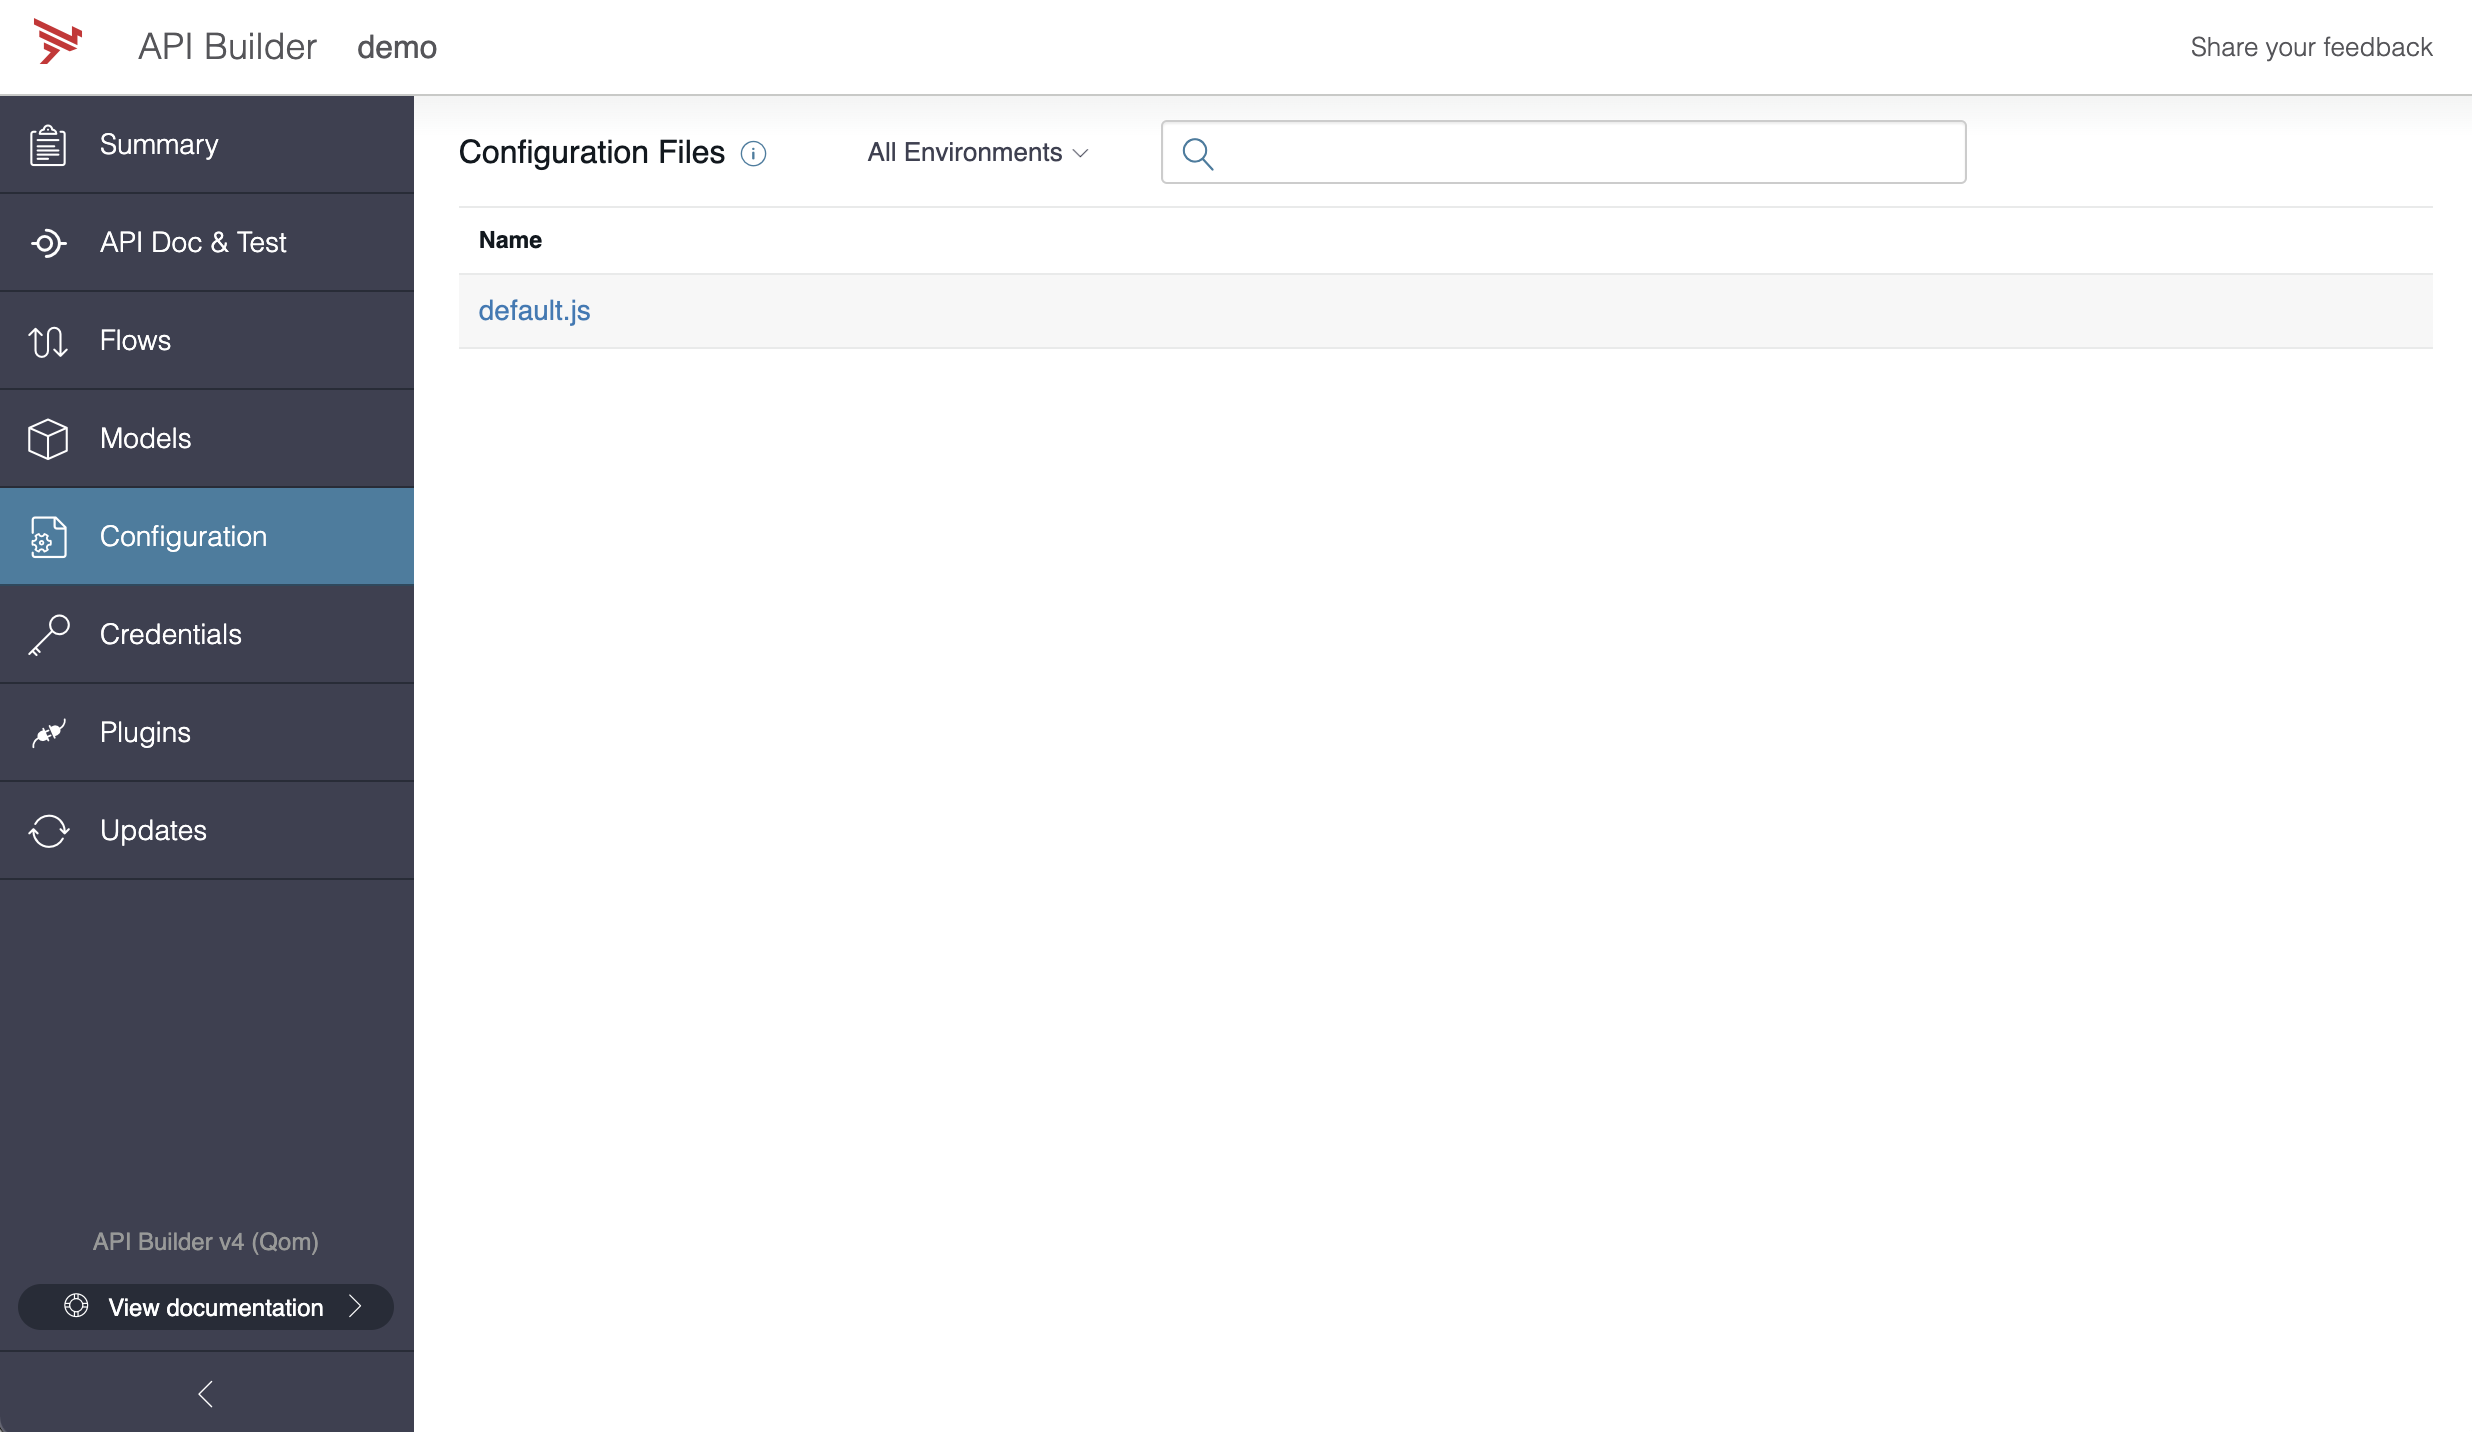
Configuration tab
The Configuration tab displays the list of configuration files on the API Builder instance. You can edit the configuration files here.
Note
Edits to these files will trigger a server restart once the files have been saved.See Project configuration for an example and settings.
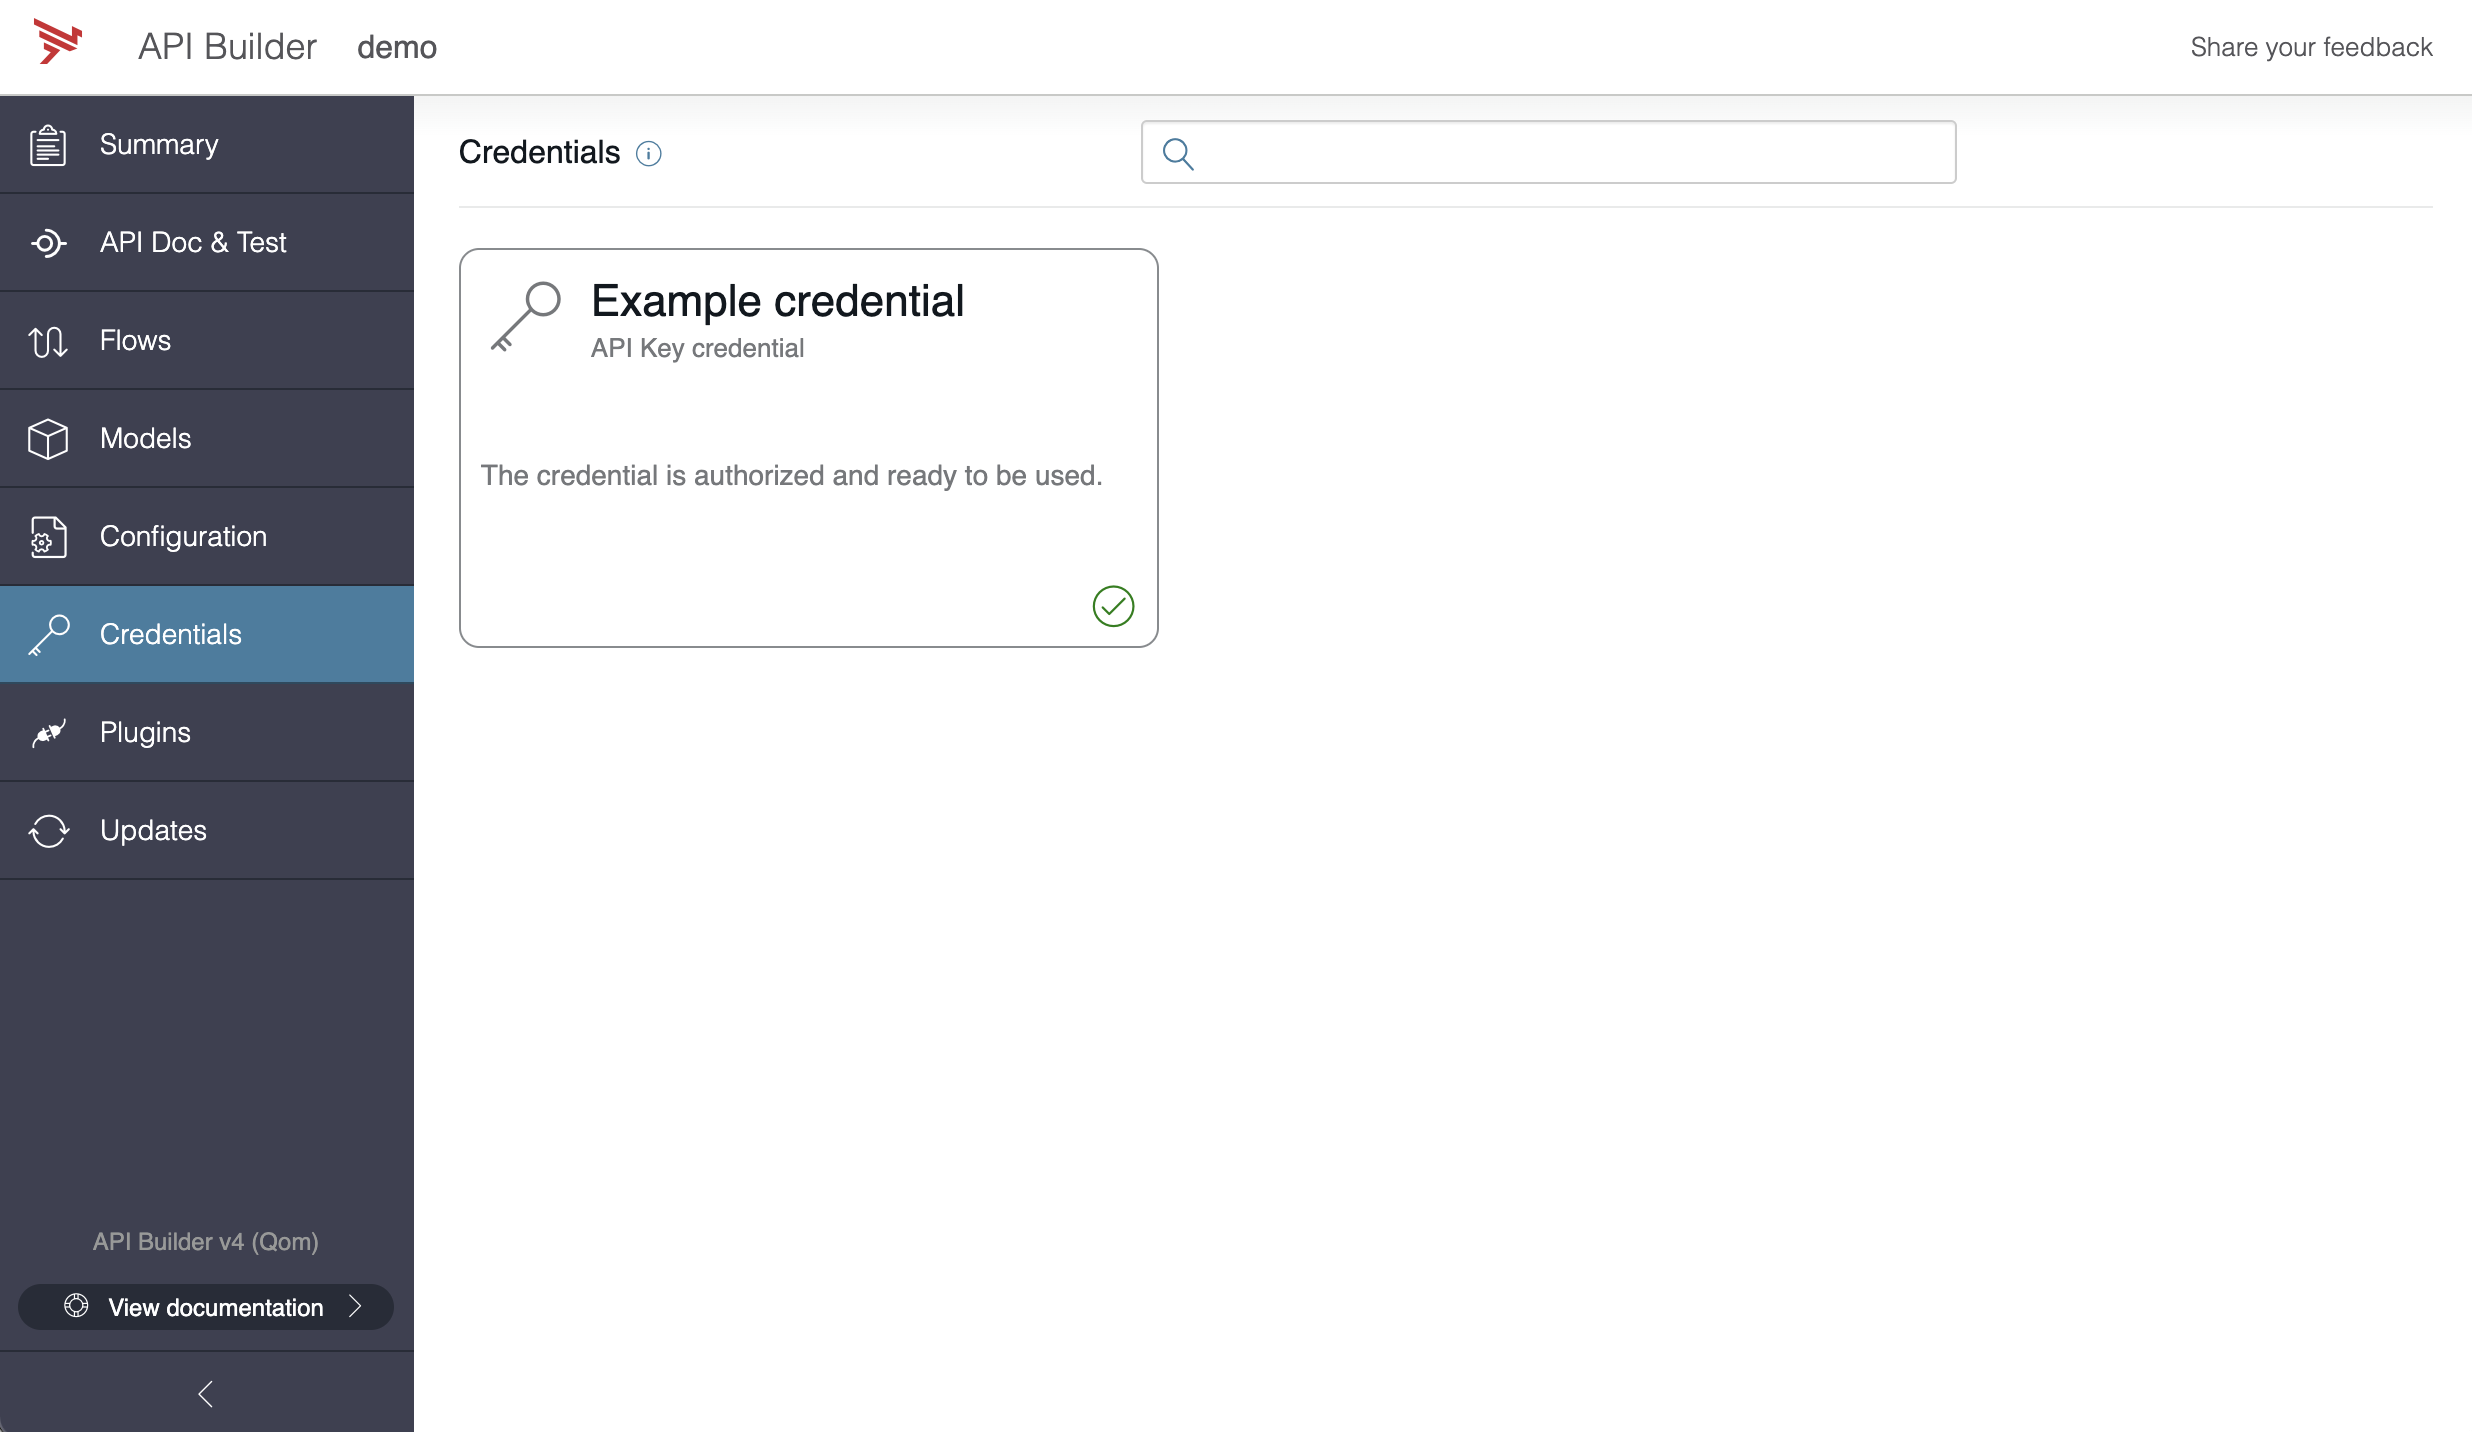
Credentials tab
The Credentials tab displays a card view listing of all the currently configured credentials. For additional information, refer to Managing Credentials.
Plugins tab
The Plugins tab shows the components to extend the core functionality of API Builder, and that can be used to connect to different data sources and services or enhance the Flow editor. For additional connectors and plugin information, refer to API Builder Connectors and API Builder Plugins. For additional information, refer to flow-nodes and flow-triggers. The tab is separated into three sections:
A list of official Axway supported plugins.
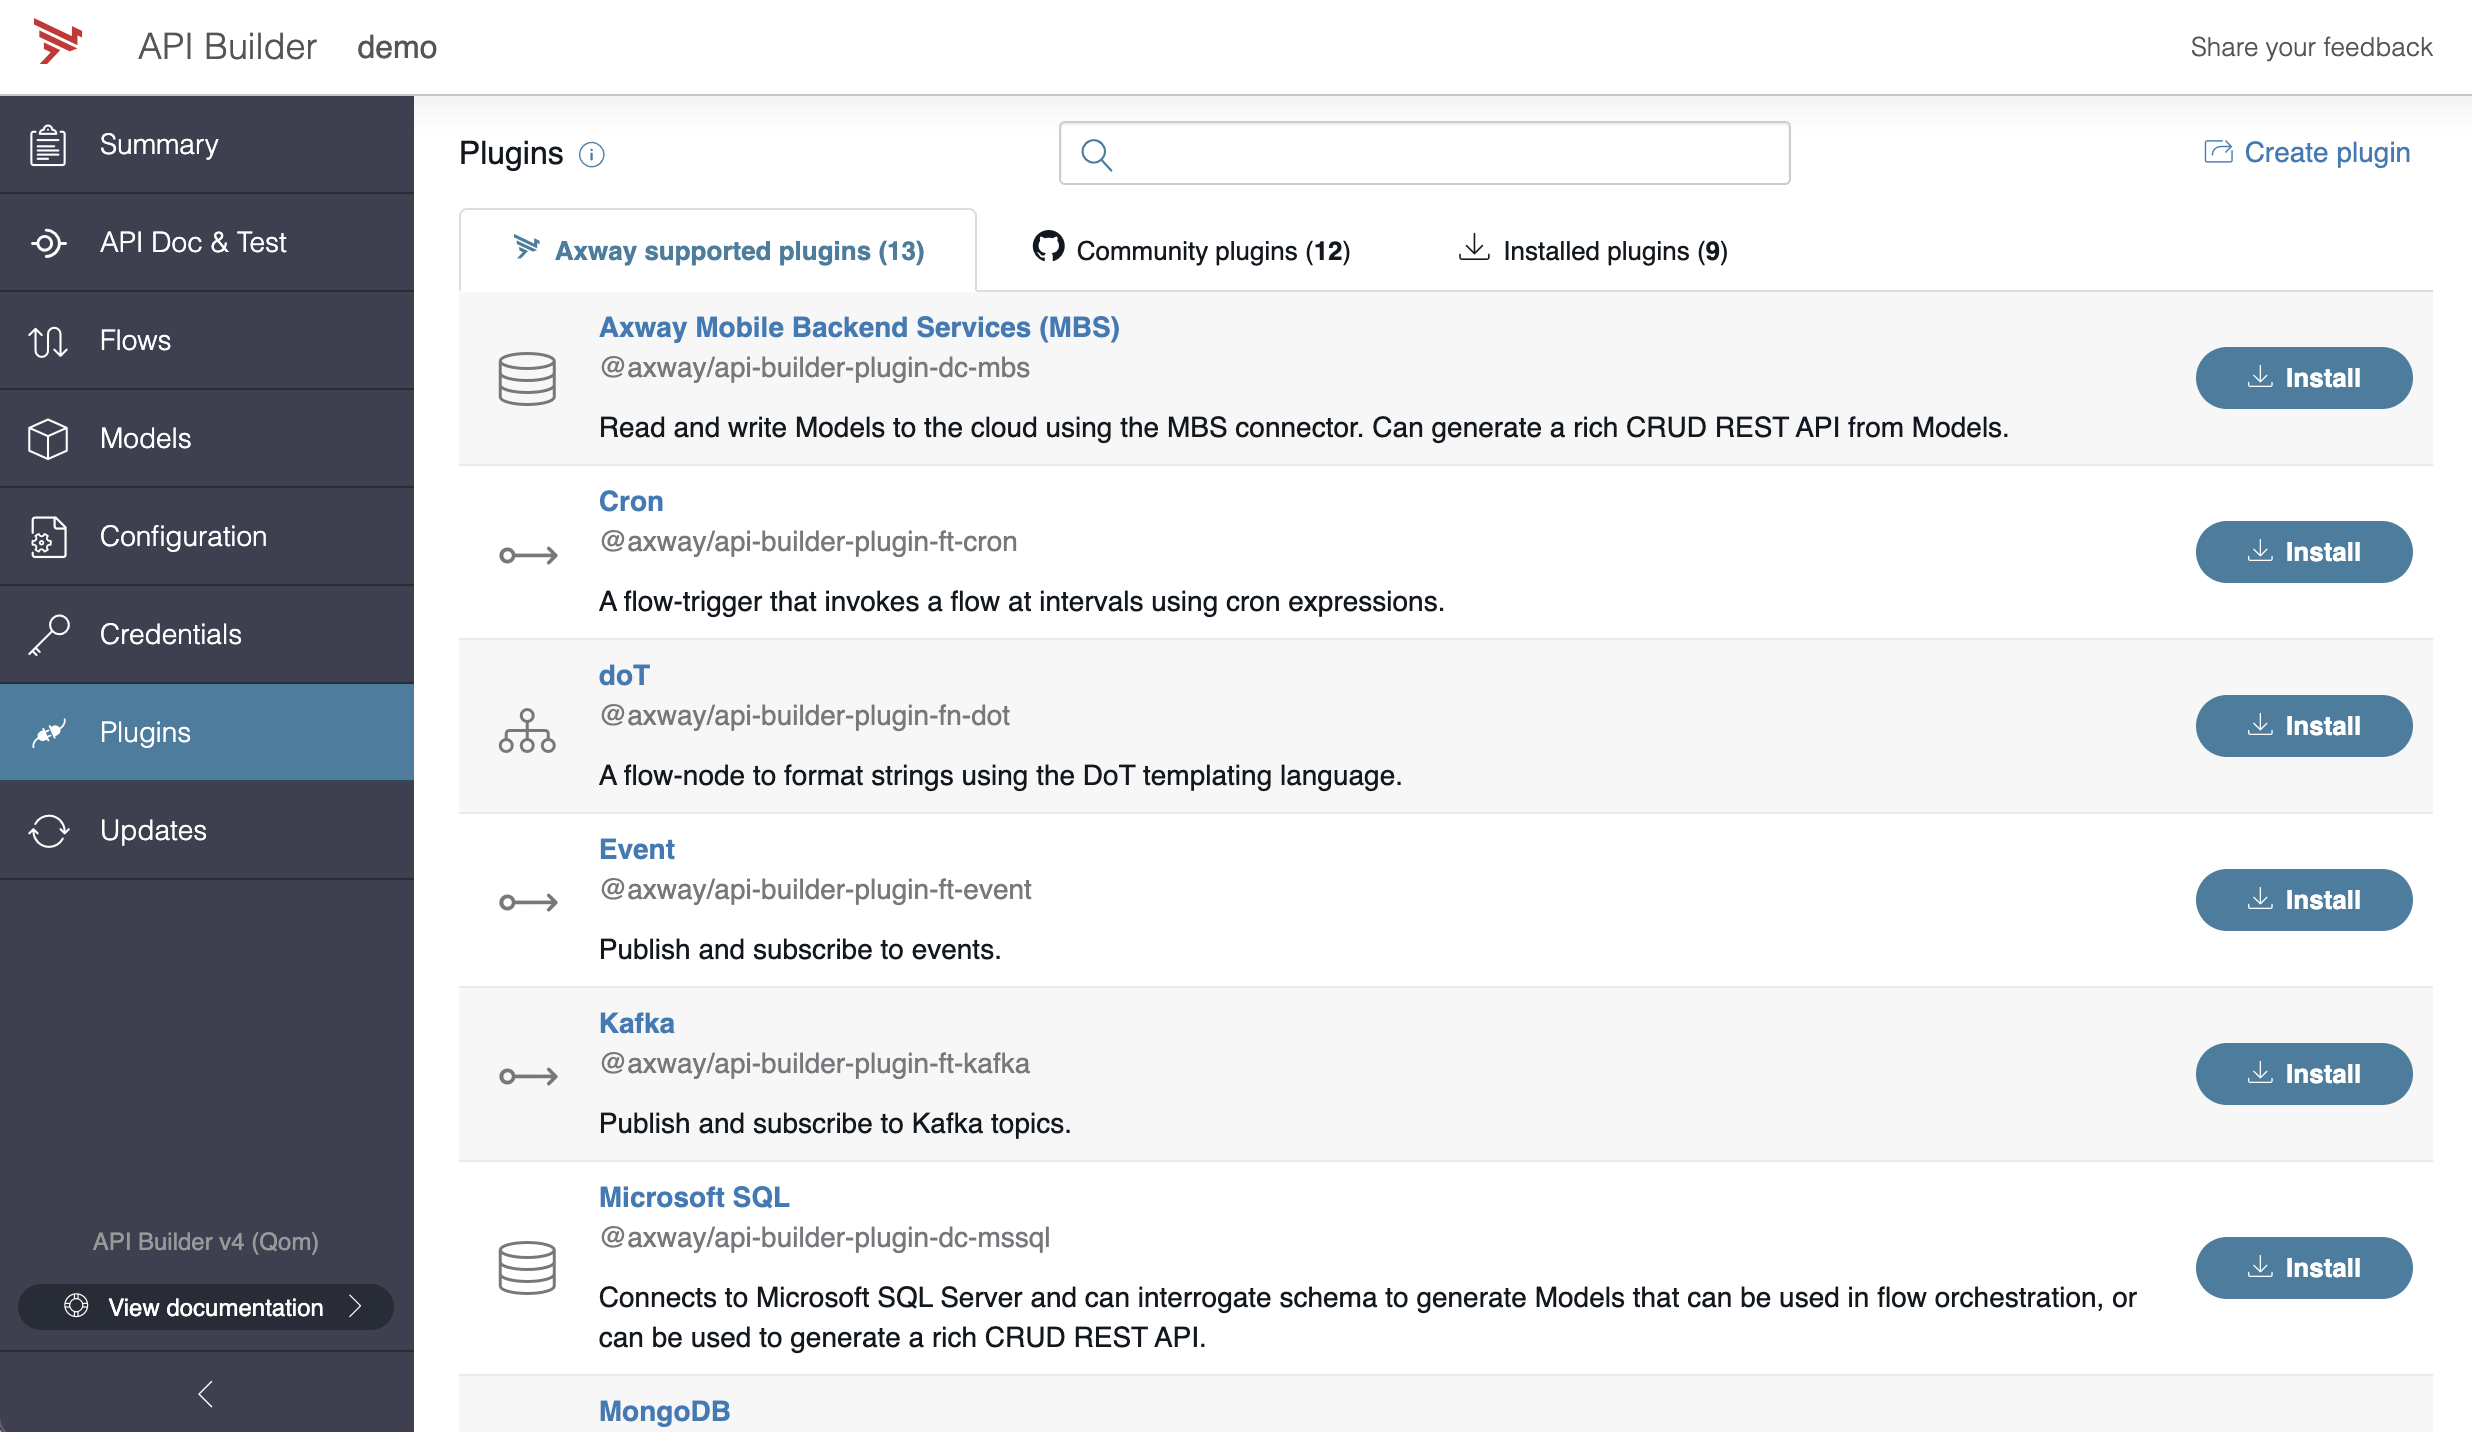
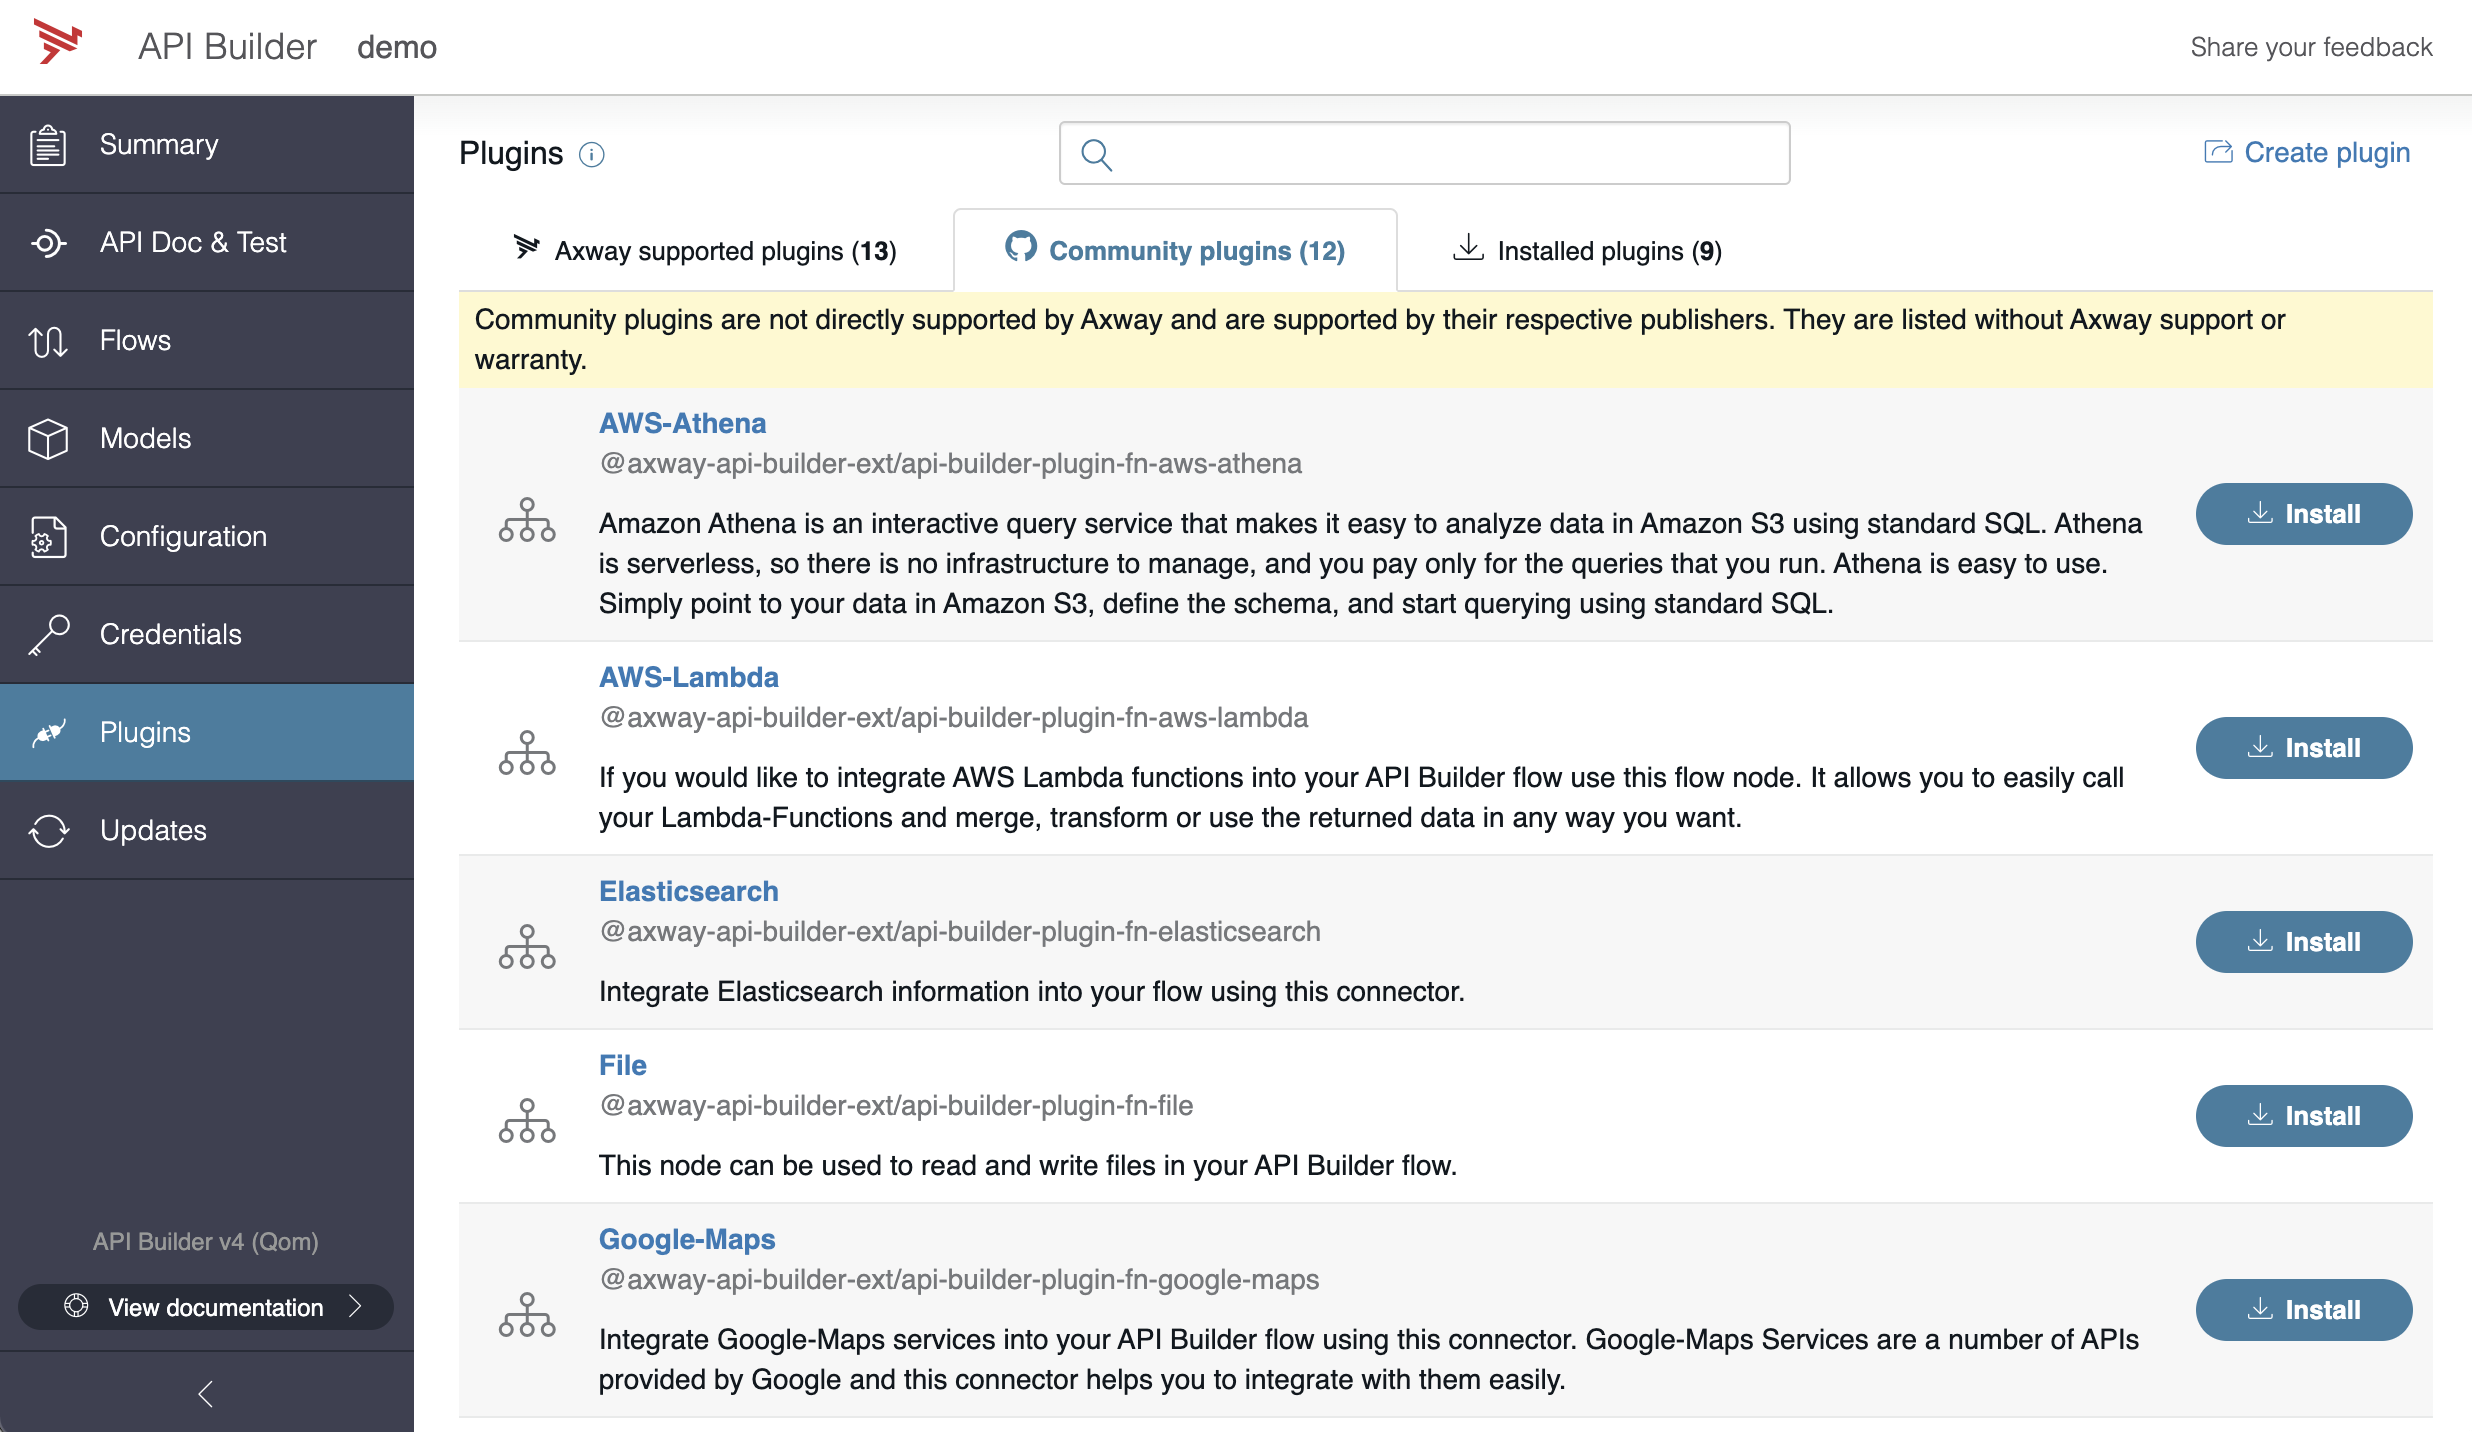
A list of Community plugins. These have been contributed by members of the API Builder community are are not officially supported by Axway.
And a list of Installed plugins.

Install a listed plugin
Installed connectors are shown as Installed. Additionally, the version of the installed connectors is displayed.
To install additional listed connectors:
- Click the Install button associated with the connector to install. Clicking the Install button will open the Installation in progress screen. While the connector is being installed, an Installing spinner is displayed. Once the installation is successfully completed, the status of the screen will change to Install complete.
- To cancel an in-progress installation, click Cancel Installation.
- To display the install log, click Show install log.
- Additionally, once the connector installation is completed, click Edit
.default.js to edit the connector configuration. - Click Close to close the Install complete screen.
Before installing community plugins, you should confirm that you agree that you are installing and using them at your own risk.
Create a plugin
To create a plugin, select the Create plugin link. You are directed to API Builder SDK documentation to guide you through the process.
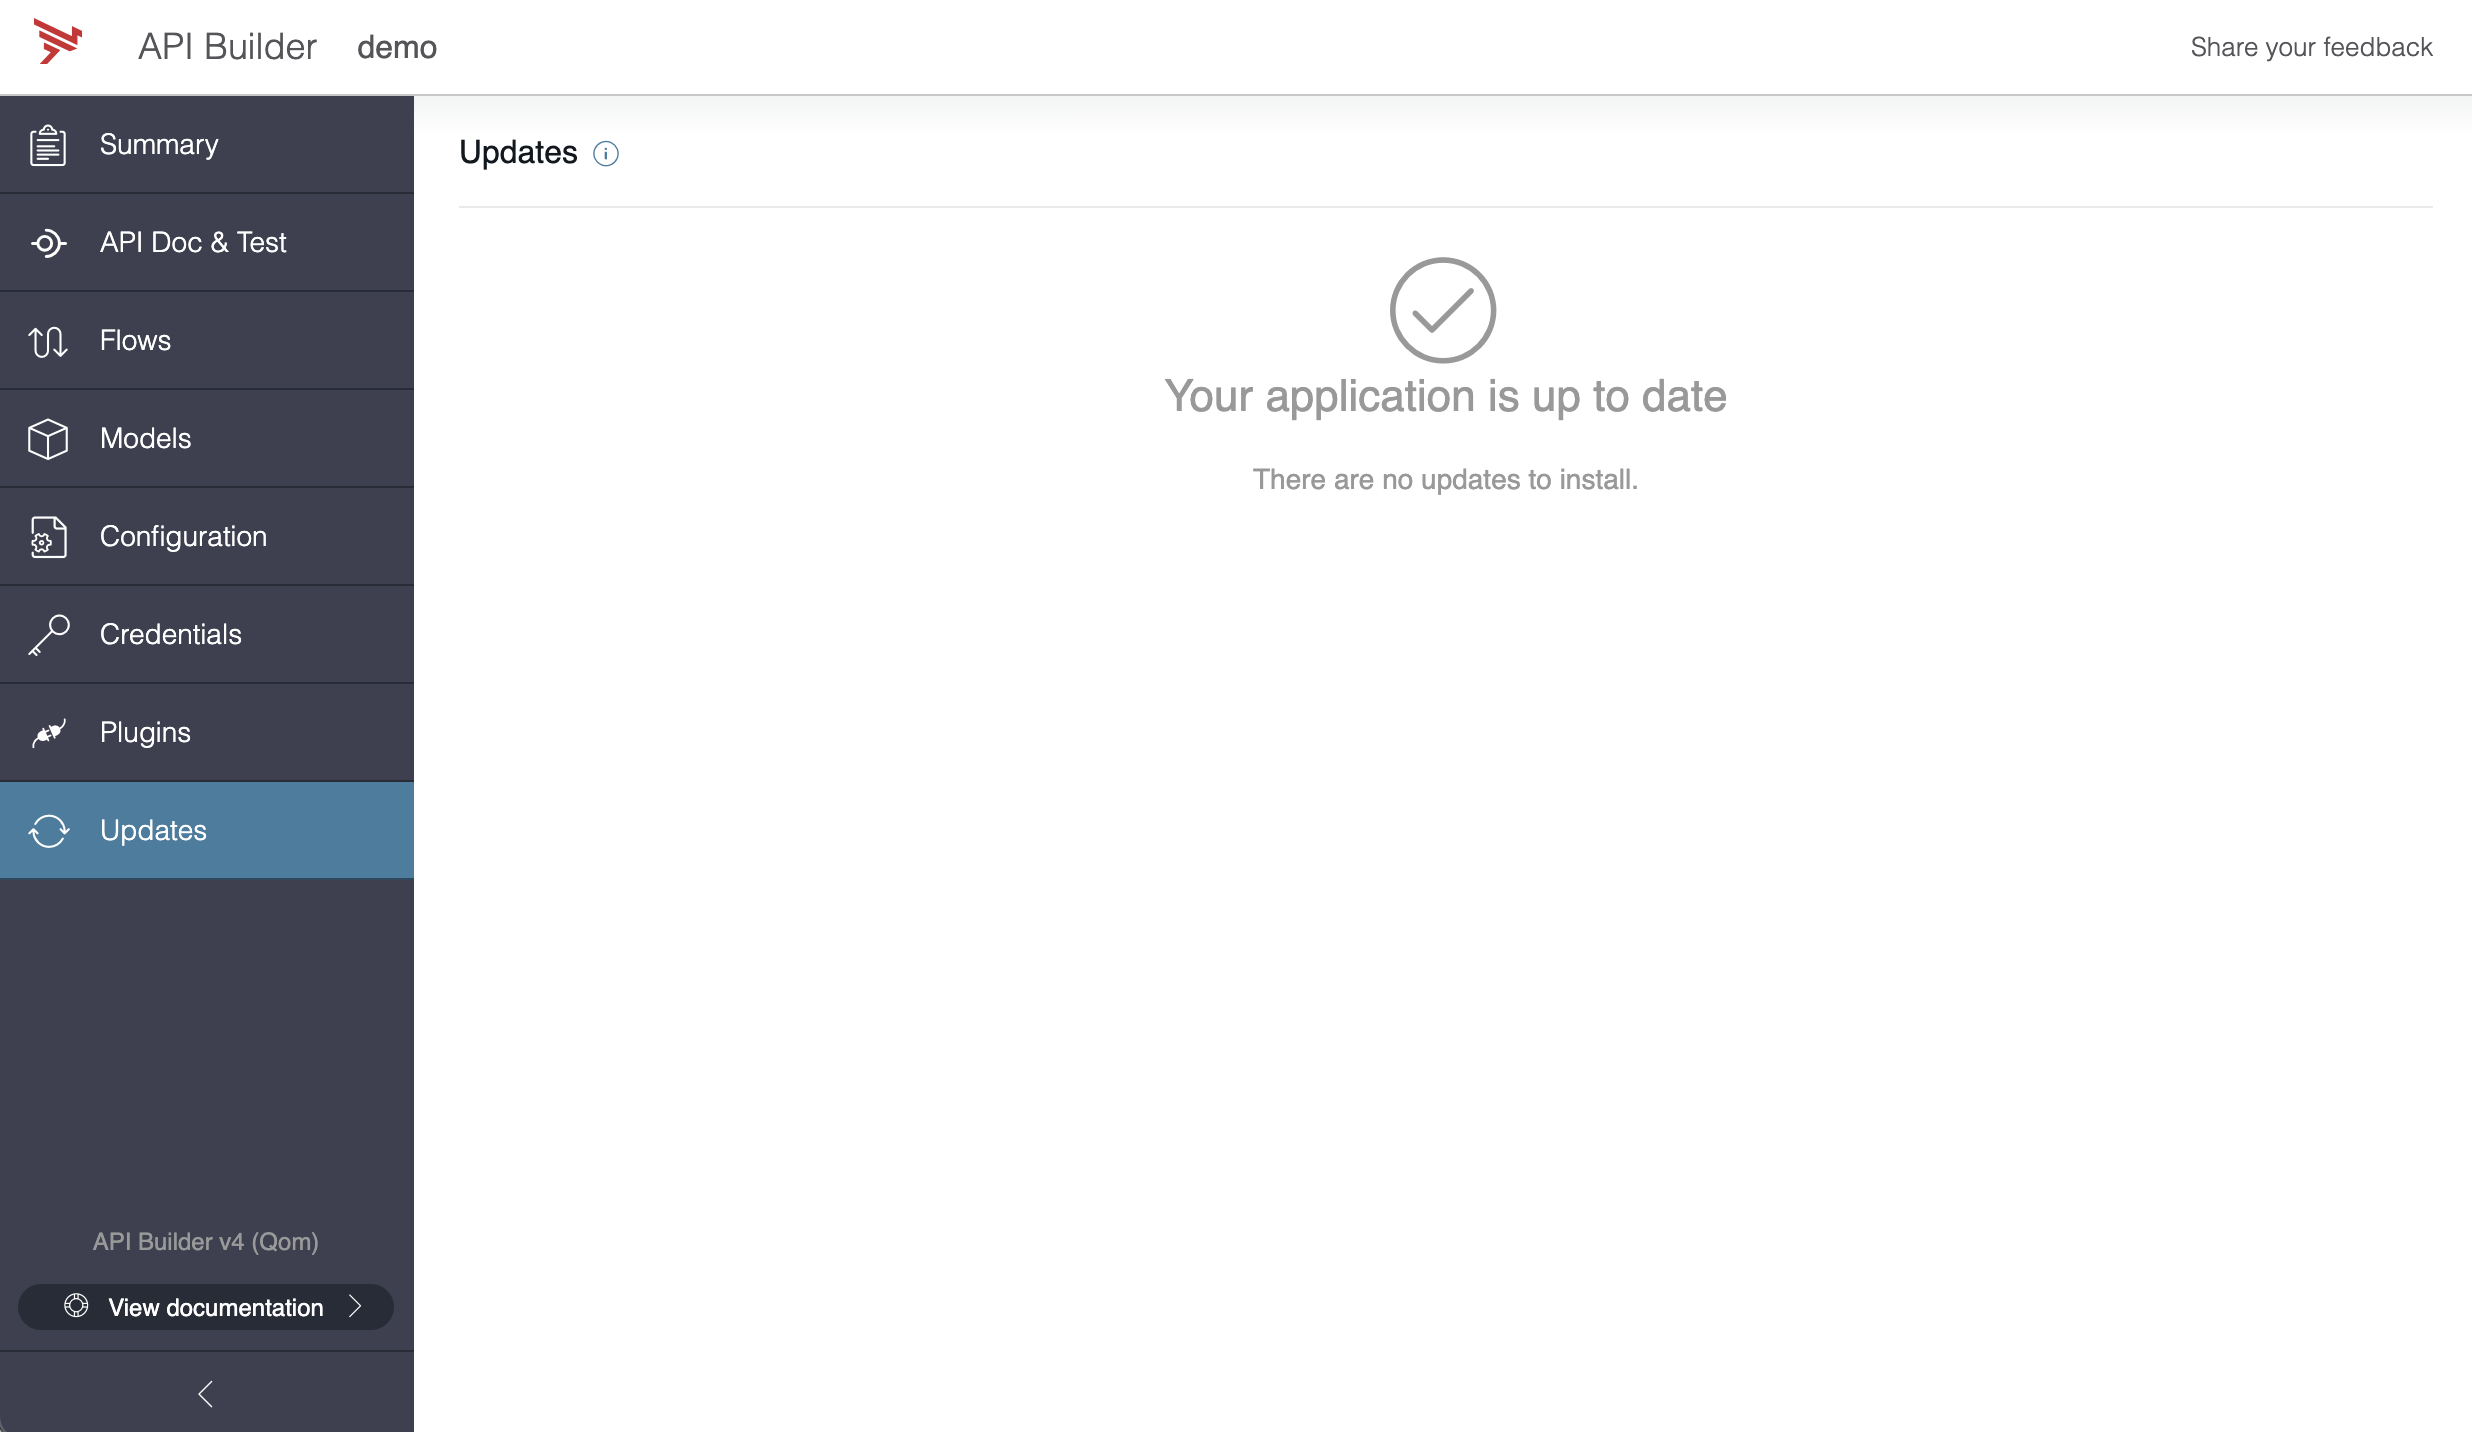
Updates tab
The Updates tab shows updates and upgrades for installed components. You should always keep your components up to date for the latest features, bug fixes, and security updates.
On startup, API Builder will check npm for updates and upgrades to installed components. This check only happens in development, and never in production. This feature is only available when using maintenance and LTS Node.js versions greater than 12.
If you do not have access to npm, or need to disable this feature in development for other reasons, see updatesEnabled.
- An update means that the are new compatible versions of components available from npm, and can be installed by running
npm update. - An upgrade means that the next version of the component may introduce breaking changes. Upgrades require extra care and attention before installing.
Before installing any upgrade, you should read the release notes very carefully. While some breaking changes are innocuous (for example, the new component requires a higher minimum version of node), some breaking changes can cause parts of your application to cease to function as expected. If this is a possibility, the release notes will explain what to do and may also require manual changes to your application before it will function as expected.
Information and search
Most API Builder tabs include the title of the page, followed by an information icon and a search bar. The information icon, when clicked, will display a short description of its function and purpose.
To locate a particular record, enter a search term in the search bar at the top to filter the table or click Advanced to restrict the search to a specific model field.
Navigation
To quickly navigate to the Summary tab, click on the Axway icon or click on API Builder.
Last modified September 9, 2022: V5 - Austen release (#102) (2414d7c)